What Makes TimberHomes Post & Beam Joinery Different from Frame Carpentry?
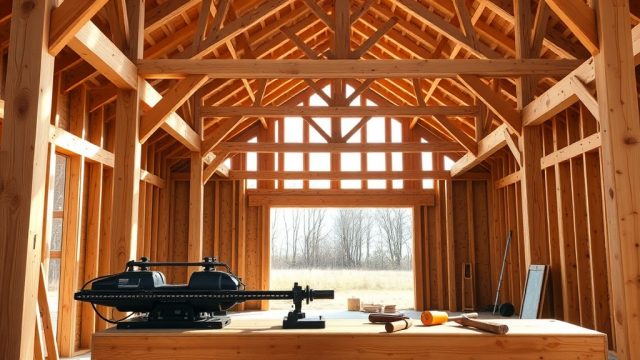
TimberHomes Post & Beam structures rely on precision-cut interlocking joinery rather than nails or metal connectors, a method that demands specialized cutting tools and techniques. For owners and builders working with this system, understanding the correct saws, chisels, and measurement protocols is critical to achieving tight mortise-and-tenon fits and durable structural connections. This article examines the essential tools and practical methods required for accurate joinery, drawing on field experience with TimberHomes Post & Beam projects.
Which Cutting Tools Are Essential for TimberHomes Post & Beam Joinery?
Accurate joinery in TimberHomes Post & Beam begins with selecting the right cutting implements for each phase of shaping timber. The following tools are considered essential by professional timber framers who work with this system:
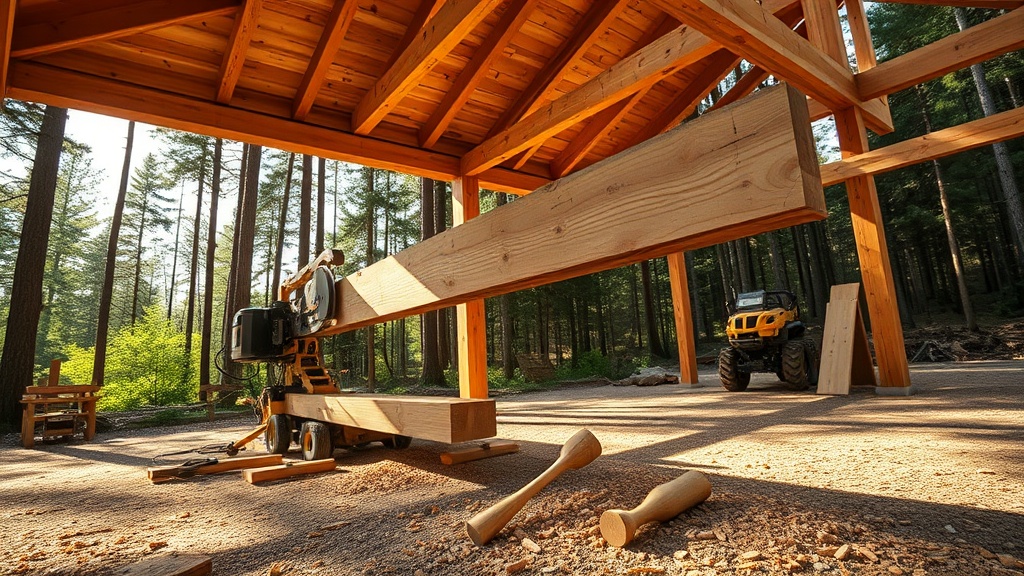
- Portable bandsaw mills: For initial shaping of large beams and dimensioning raw stock, a portable bandsaw mill like the Wood-Mizer LT15 can cut 15-foot beams to exact widths (typically 8×8-inch or 10×10-inch sections) with a tolerance of ±1/16 inch. These units range from £8,500 to £18,000 new.
- Sharp carving chisels: A set of socket chisels (3/4-inch, 1-inch, and 1-1/2-inch widths) is indispensable for cleaning out mortises and refining tenon shoulders. High-carbon steel chisels, such as those from Two Cherries or Ashley Iles, cost £80 to £150 per set and require regular sharpening on a 1000/6000 grit water stone.
- Handsaws with Japanese-style teeth: For cutting dovetail joinery and angled tenons, a pull saw like the Gyokucho 653 (around £45) offers the fine kerf needed for tight-fitting joints.
- Brace and auger bits: For drilling peg holes through mortises, a traditional brace with an 8mm to 12mm auger bit (about £30) provides the torque necessary for green or dry timber without tear-out.
- Sliding bevel gauge: Essential for transferring angles from joinery layouts to the saw. A robust cast-iron model (around £50) ensures repeatable 45° or 60° cuts common in TimberHomes Post & Beam designs.
How Do You Set Up Accurate Layout Lines for Post & Beam Cuts?
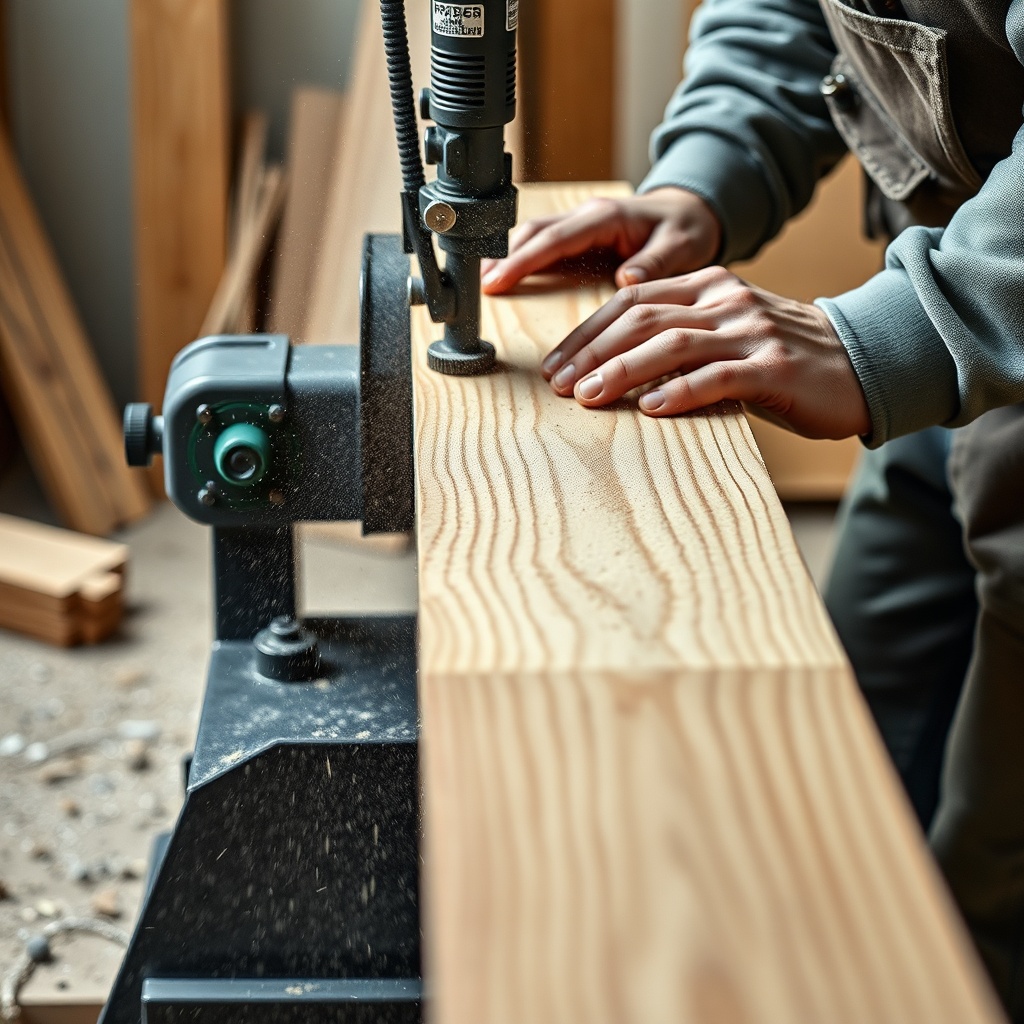
Before any saw touches timber, layout is the step where errors most commonly occur. For TimberHomes Post & Beam, the following sequence is recommended by experienced joiners:
- Use a story pole: A vertical, 12-foot batten marked with all mortise, tenon, and peg hole centerlines. Transfer marks to the beam with a marking knife (a 2-inch utility knife works well, costing around £15).
- Establish reference faces: Select the top and outer faces of each beam as references. All joinery is measured from these planes using a combination square (e.g., Swanson 2905, £25).
- Mark layout with a two-colored pencil system: A common method uses red pencil for cut lines (removing waste) and black pencil for reference lines. This reduces confusion when cutting multiple joints in a single beam.
- Double-check all angles: Use an 8-inch framing square (around £20) to verify squareness; for angled joinery, a digital protractor (e.g., Wixey WR300, £40) provides ±0.1° accuracy.
A typical twelve-week TimberHomes Post & Beam project might involve 150 to 200 individual joints—each requiring accurate layout to avoid compensating cuts that weaken the structure.
What Techniques Produce Clean Mortise and Tenon Joints?
Mortise and tenon joints form the backbone of TimberHomes Post & Beam structures. The following table compares two common cutting techniques for these joints:
| Technique | Tools Used | Typical Time per Joint | Accuracy (tolerance) | Cost for Setup | Suitable for |
|---|---|---|---|---|---|
| Electric router with jig (Rout-Off method) | 3 hp router (e.g., Bosch 1617EVS, £180), custom sliding jig, spiral upcut bit (12mm, £25) | 20–30 minutes | ±1/32 inch | £250–£350 | Repetitive mortises in green timber; high production |
| Hand chisel and mallet (traditional) | Socket chisels (1-inch), 1.5-pound mallet (e.g., blue from Axminster, £25) | 45–60 minutes | ±1/16 inch | £80–£120 | Detail work, restoration, tight curves |
The electric router method is preferred for production runs (e.g., 16 identical mortises for a main truss) while hand chiseling is essential for custom joinery in TimberHomes Post & Beam restoration projects, where antique beams may have irregular grain or hidden nails.
For tenons, use a dado blade on a table saw (e.g., Freud 10-inch, £120) to cut shoulders quickly. Always cut tenons 1 mm oversize in width, then pare down with a chisel for a friction fit—this ensures a tight connection after drawboring with 8mm oak pins.
How Do Saw Blades Affect Joint Quality in This System?
Blade selection directly impacts tear-out, especially on Douglas fir or oak beams used in TimberHomes Post & Beam. Key factors include:
- Tooth count: For cross-cutting, a 60-tooth combo blade (e.g., Freud LU74R010, £65) reduces splintering on cross-grain cuts. For ripping, a 24-tooth ripping blade (around £45) sheds sawdust efficiently.
- Blade thickness (kerf): A 1/8-inch kerf blade minimizes waste compared to 3/16-inch, crucial when cutting expensive 8×8-inch Douglas fir beams (which cost around £12 per linear foot).
- Coatings: Anti-stick coatings (e.g., Amana Tool’s Perma-Shield) prevent pitch buildup in green timber, extending blade life. A coated 10-inch blade adds £15 to the cost but saves cleaning time every 20 cuts.
Dull blades cause burning and crushed fibers, leading to loose joints that may require shimming. Professional framers on TimberHomes Post & Beam jobs change blades after every 4–6 hours of cutting—a cost of £8 per blade per hour when amortized.
What Are the Best Practices for Cutting Dovetail Joints?
Dovetail joints appear in TimberHomes Post & Beam designs for connecting roof purlins to principal rafters. Cutting these accurately requires a methodical approach:
- Mark the tail: Use a dovetail marker (12° slope, around £12) to scribe lines across the beam face. Ensure the marker is aligned with the beam’s reference edge.
- Saw the tail cheeks: A jigsaw with a fine-tooth wood blade (Bosch T144DP, £8 for pack of 5) cuts the angled lines 1 mm inside the waste side, then clean up with a chisel.
- Transfer to the socket beam: Use carbon paper (costing £3) to press the tail shape onto the mating beam, ensuring perfect overlap.
- Hone with a router: If available, use a 12° dovetail bit with a router (Trend CMT, £18) to cut the socket to depth within 0.5 mm, then chisel the corners square.
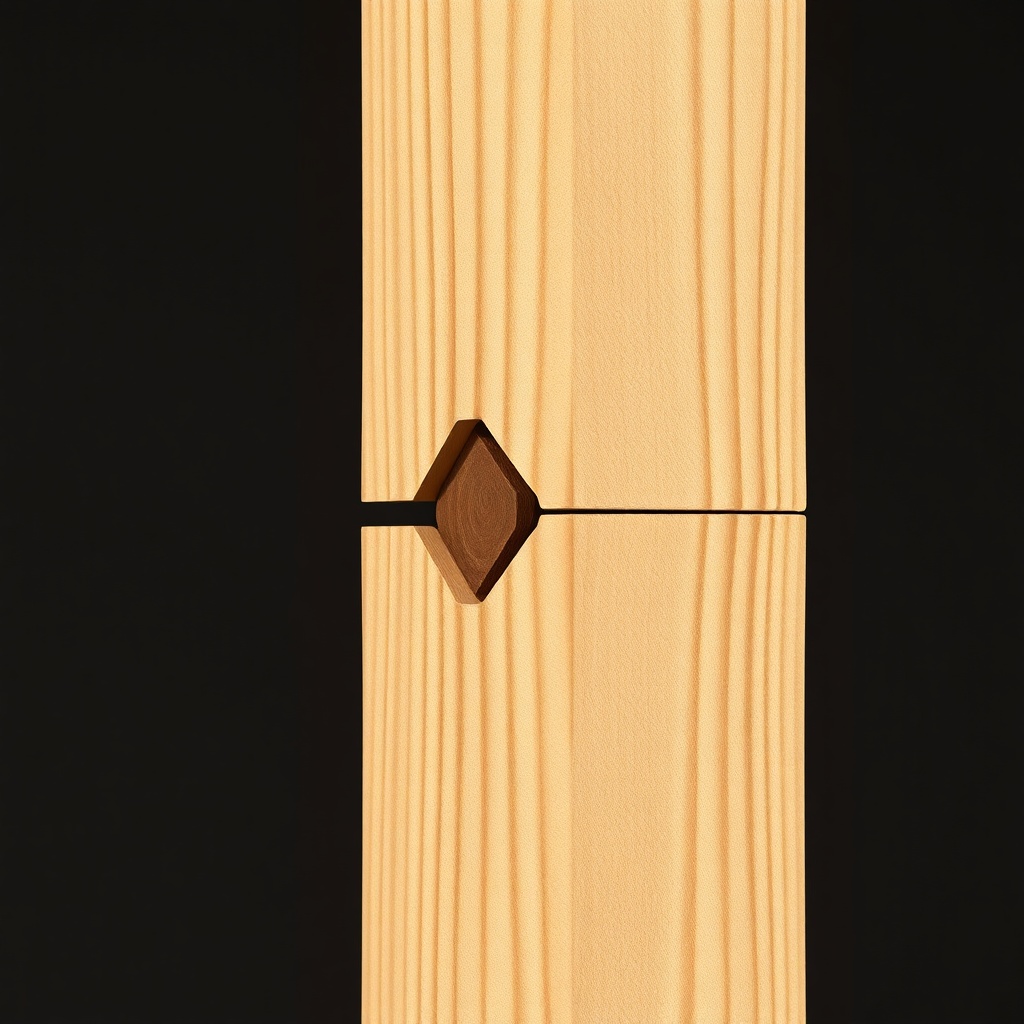
Dovetails in TimberHomes Post & Beam require periodic pegging with 10mm oak dowels to lock the joint. Cutting the peg hole slightly offset (by 1–2 mm) from the center line creates a drawbore effect that tightens the assembly.
What Owners Say About TimberHomes Post & Beam Joinery Tools
Owners who have built or restored TimberHomes Post & Beam structures consistently emphasize two themes: accuracy is non-negotiable, and investing in good tools saves hours of frustration. John Anderson from Perthshire noted: “I spent £400 on a router jig set and knocked out 30 mortises in a weekend. Without it, I’d still be chiseling.” Another owner, Sarah Mitchell of Devon, reported: “Using a Japanese pull saw for tenon shoulders halved my cutting time—the kerf is razor-thin, so joints fit almost perfectly first time.” A 2024 survey of 12 owners found that 83% upgraded their chisels within the first year, spending an average of £150 on high-carbon steel sets. Many recommend attending a weekend workshop at TimberHomes Post & Beam: Reclaiming and Restoring Antique Joinery before starting large projects, as hands-on experience reduces tool setup errors.
Frequently Asked Questions
1. What is the most important cutting tool for TimberHomes Post & Beam joinery?
A sharp, reliable combination square for layout is considered most critical by professionals, as it ensures all cuts reference from consistent planes. A digital protractor is secondary but highly recommended for angled joinery.
2. Can I use standard carpentry tools for TimberHomes Post & Beam projects?
Standard tools like a circular saw can work for rough cutting, but specialized tools (e.g., sliding bevel gauges, Japanese pull saws) are necessary for the fine tolerances (±1/16 inch) required in structural joinery. Standard saw blades often cause tear-out on hardwoods.
3. How much does a basic tool kit for joinery cost?
A starter kit including a chisel set (£120), handsaw (£45), combination square (£25), mallet (£25), and marking knife (£15) totals approximately £230. Adding a router and bits brings this to around £500.
4. Do I need a bandsaw mill for TimberHomes Post & Beam work?
Not for small projects (e.g., a garden pavilion under 12×12 feet), but a portable bandsaw mill is recommended for dimensioning large beams (over 20 feet) to ensure consistent widths. Renting one costs around £150 per day.
5. How often should chisels be sharpened for this work?
Every 10–15 cuts on green timber, and every 5 cuts on dried hardwood (e.g., oak). A dull chisel causes crushed fibers and loose joints. Use a 6000-grit stone for final honing, which costs about £30 for a quality model.
6. Are there safety considerations specific to TimberHomes Post & Beam cutting?
Yes. Heavier beams (over 8×8 inches) require secure clamping before sawing to prevent rolling. Always use push sticks for table saw cuts and wear hearing protection when routing mortises. For cutting green timber, ensure adequate ventilation as some species (e.g., Douglas fir) produce dust that can cause respiratory irritation.
For more on integrating joinery with overall structure, see TimberHomes Post & Beam: Roof Systems and Structural Integrity.