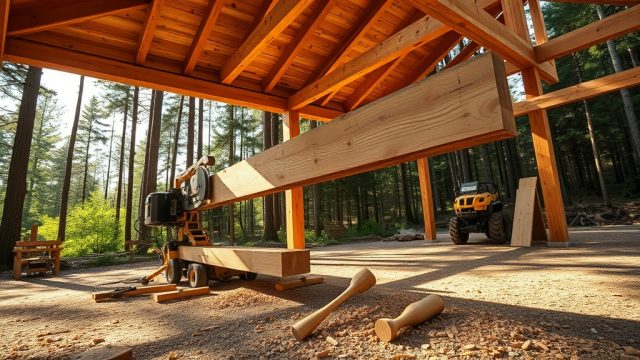
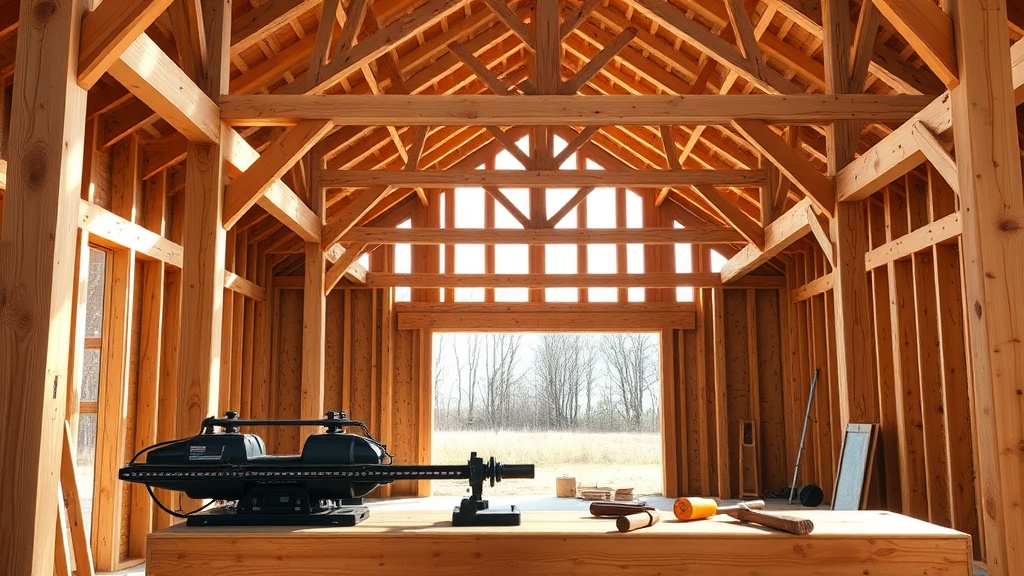
Yankee Barn Homes Lincoln: Tools and Cutting Techniques for Beam Notching and Mortising
Building a Yankee Barn Homes Lincoln structure demands precision in timber joinery, particularly when notching beams and cutting mortises for the iconic post-and-beam framework. Whether you’re a seasoned builder or a dedicated owner-builder, selecting the right tools and mastering specific cutting techniques ensures structural integrity and visual authenticity. This guide covers essential hand and power tools, step-by-step methods, and real-world insights from Yankee Barn Homes Lincoln owners to help you achieve tight, durable joints without compromising timber strength.
What Saws Are Best for Notching Yankee Barn Homes Lincoln Beams?
The choice of saw depends on the notch type and depth. For through-tenon or half-lap notches, a 16-inch or larger chainsaw with a ripping chain is ideal for quick rough cuts in large beams, but for cleaner, more accurate work, a portable bandsaw (e.g., the M18 Fuel or Makita 36V) provides straight, square cuts with minimal waste. For smaller notches or dovetailed seat cuts, a circular saw with a carbide-tipped blade at a depth-of-cut of 3–4 inches is cost-effective—set the blade to just above the notch depth and make multiple passes. Hand tools remain common: a Japanese pull saw (Ryoba) offers fine control for shaping shoulders and waste removal, while a mortise chisel set (1/2-inch, 3/4-inch, 1-inch) works hand-in-hand with a mallet for cleaning out corners. Many Lincoln owners pair a chisel plane with a plunge router fitted with a spiral upcut bit for mortise walls, achieving crisp, glue-ready surfaces.
How Do You Mark Out Mortise and Notch Locations on Yankee Barn Homes Lincoln Timbers?
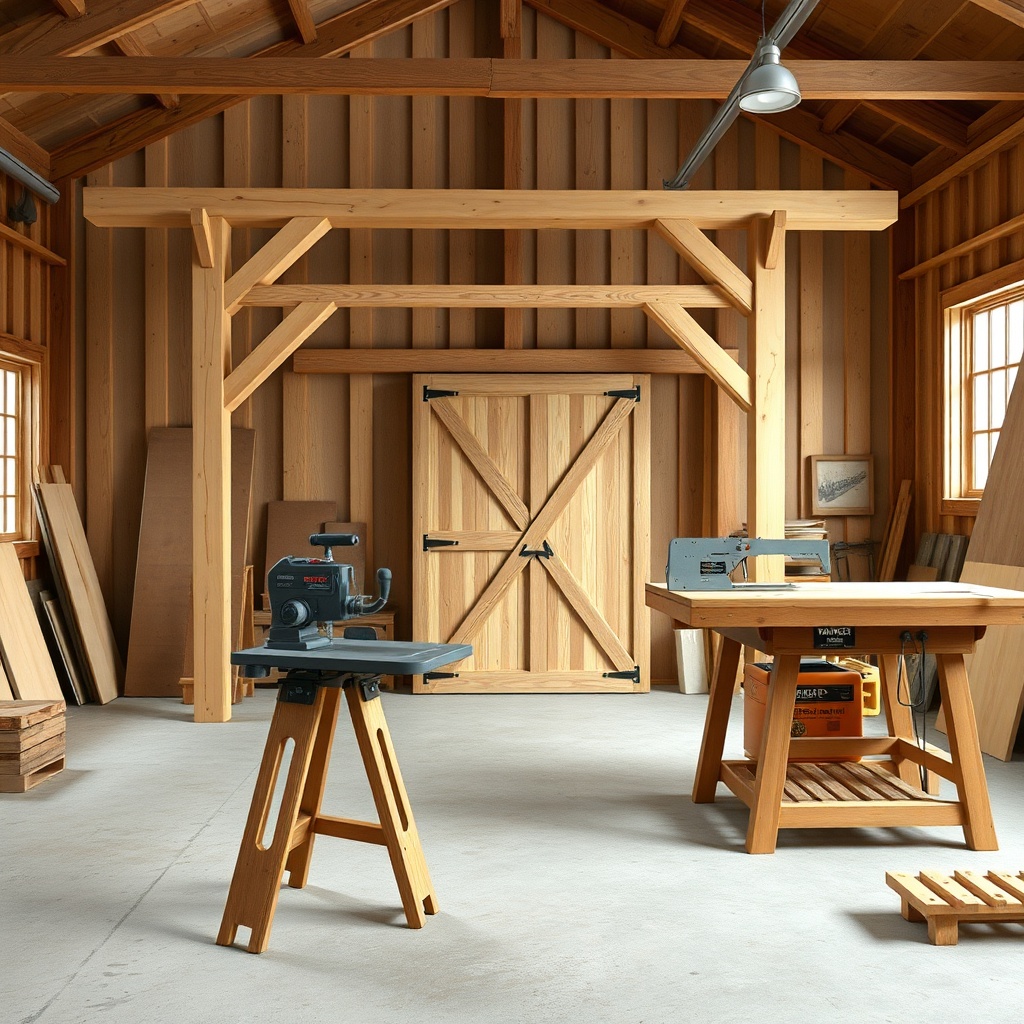
Accuracy begins with layout. Use a combination square or beam trammel to scribe parallel lines across the beam’s face at the notch endpoints. A marking gauge with a sharp wheel scribes the depth line for the mortise shoulder. For repeating patterns (e.g., rafter notches every 24 inches), create a story pole from a straight 2×4—mark all notch positions, then transfer them to each beam using a level. A chalk line snaps long reference lines, while a 3-4-5 triangle verifies squareness. Many Lincoln barn kits include pre-cut joiner templates from the factory, but for field modifications, a rebate plane can adjust a shoulder’s depth by 1/16 inch without splitting grain. Always label each beam with carpenter’s pencil codes (e.g., “LB-1N” for left beam, notch 1) to avoid mix-ups during assembly.
What Are the Best Power Tools for Mortising Yankee Barn Homes Lincoln Beams?
Three power tool categories dominate mortising in Lincoln barn frames: chain mortisers, plunge routers, and drill press mortising attachments. A chain mortiser (e.g., the Makita 7104L at £1,300 or the more affordable Wen at £600) cuts a mortise in one pass using a chainsaw-style bar, producing a slightly rough finish that old-growth glue adheres to well. For precision, a 3 HP plunge router with a 1/2-inch carbide spiral bit (e.g., Freud or Whiteside) cuts smooth walls—use a template clamped to the beam to avoid drift. An alternative is a drill press with a mortising attachment (e.g., the Jet JDP-15M at £700) that uses a square chisel and bit set, but this only works on timber up to 4×6 inches. For Yankee Barn Homes Lincoln’s typical 6×6 or 8×8 Douglas fir beams, a chain mortiser or router with a long 12-inch spoilboard is most efficient.
| Tool Type | Typical Cost (GBP) | Mortise Size Capacity | Finish Quality | Best For |
|---|---|---|---|---|
| Chain Mortiser (Makita 7104L) | £1,200–£1,400 | Up to 6″ deep, 1.5″ wide | Rough, glue-ready | Large 8×8 beams, deep tenons |
| Plunge Router (Festool OF 2200) | £950–£1,100 | Up to 3″ deep per pass | Very smooth | Precision tenon walls, furniture-grade |
| Drill Press + Mortising Attachment | £600–£900 | Up to 3″ deep, 1″ wide | Good, with cleanup | Small beams, braces, and gussets |
| Portable Band Saw (Milwaukee M18) | £400–£550 | Up to 6″ depth per cut | Fair, needs chisel work | Notch removal and rough shaping |
How Do You Cut a Mortise and Tenon Joint for a Yankee Barn Homes Lincoln Frame?
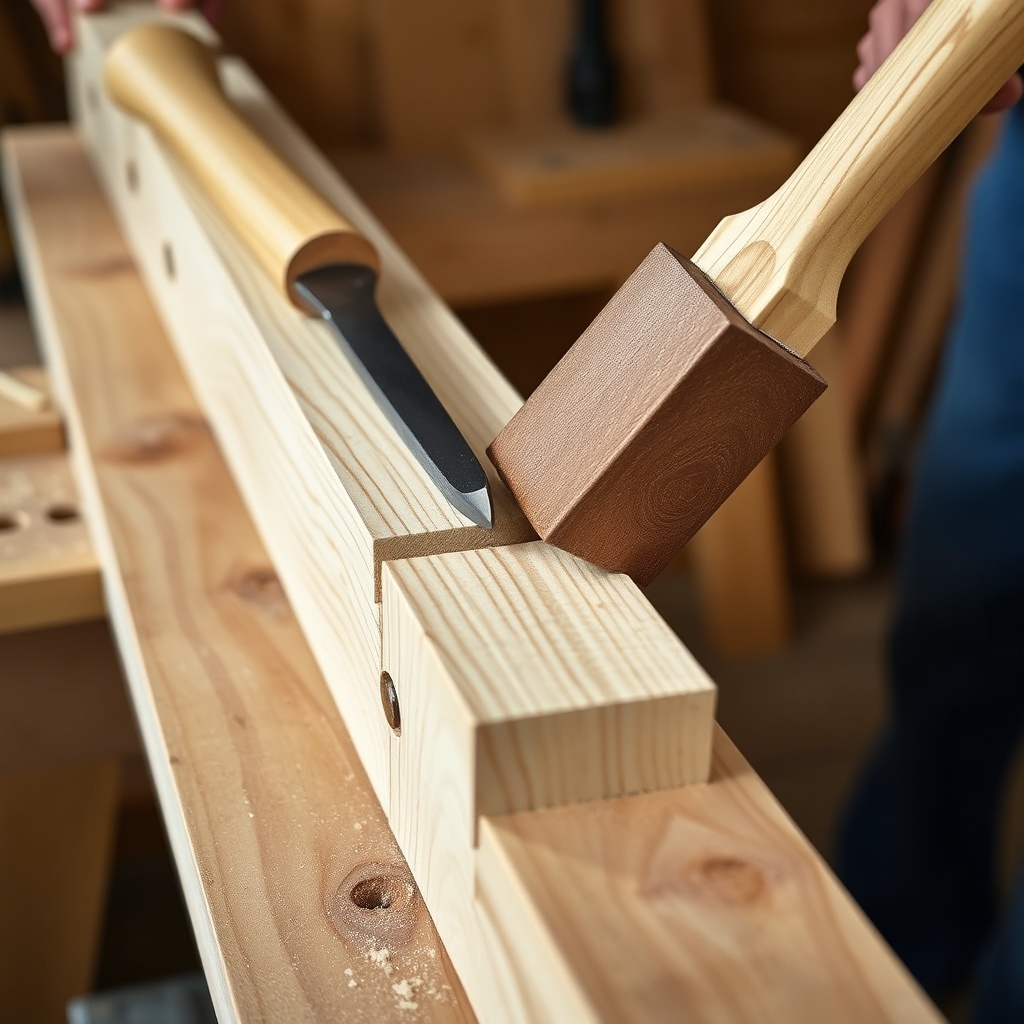
Start by securing the beam with pipe clamps or a timber jack to a stout workbench. For a typical 2-inch wide mortise in a 6×6: first, use a circular saw with a depth of 1-3/4 inches to cut the two cheek lines (the long sides of the mortise). Then, bore out waste with a spade bit or Forstner bit every inch between the cheeks, leaving 1/4 inch of material at the bottom. Use a sharp 1-inch bevel-edge chisel to pare down to the scribed line—always cut downhill from the beam face to avoid tear-out. For the tenon, set up a miter saw with a stop to cut the shoulder at 90 degrees, then use a band saw to cut the tenon cheeks. A shoulder plane final-trims the tenon to slip-fit—aim for 1/16-inch gap all around for glue and expansion. Some Lincoln owners use a tenon cutting jig on a table saw for smaller beams, but for custom angles, hand methods yield better results.
What Safety Measures Should You Follow When Notching and Mortising?
Always wear hearing protection (chain mortisers and routers exceed 100 dB) and dust masks (Douglas fir dust is an irritant). Secure work with vises and hold-downs—never freehand a mortise in a vertical beam. For chainsaws and chain mortisers, use a low-kickback bar and keep the chain sharp. A push stick is essential when routing near beam ends. Ensure the workshop has adequate lighting (500+ lux) and fire extinguisher (Class B rated). For dust collection, a portable 12-inch planer dust hood on the router captures 90% of chips. If using a circular saw with a guide rail, clamp the rail to prevent slipping. Always disconnect power tools when changing bits or clearing jams. For heavy beams over 6×6, use a beam cart or overhead hoist to reposition—never lift alone.
What Owners Say About Yankee Barn Homes Lincoln Joinery
“We bought a Lincoln open-plan kit and did all the cutting ourselves,” says Mark R., a builder from Kent. “Using a Makita chain mortiser on the 8×8 ridge beam was brilliant—took 10 minutes per mortise. But the thin-walled tenons on the rafters needed a router with a template to get them square. The fit was so tight we had to tap them with a dead blow hammer.” Sarah T., who completed her Lincoln barn in the Scottish Borders, notes: “I used a portable band saw for notching the braces—cleaner than a chainsaw and less cleanup. For the floor joist mortises, a drill press attachment worked fine on the 4×6 timbers. I spent £400 on a good chisel set, and it paid off in final alignment.” Many owners stress the importance of dry-fitting every joint before glue—the Yankee Barn Homes Lincoln engineers provide detailed cutting diagrams, but a small variation in depth can cause a frame to rack.
Frequently Asked Questions
- Can I use a standard circular saw for all notching on a Yankee Barn Homes Lincoln beam? Yes, for notches up to 3 inches deep, a 7-1/4-inch circular saw is fine, but you must make multiple passes and clean up waste with a chisel. For deeper notches, a chain saw or portable band saw is faster.
- What is the best glue for Yankee Barn Homes Lincoln timber joints? Use a polyurethane adhesive (e.g., Gorilla Glue) or a two-part epoxy for exterior/weather-exposed joints. For interior, a water-resistant PVA (e.g., Titebond III) works well. Avoid standard white glue as it can creep under heavy loads.
- Do I need to treat the mortise and tenon before assembly for insect resistance? Not if the timber is already kiln-dried and the building is properly sealed. However, for open-frame Lincoln barns with exposed joinery, consider a borate-based spray on the unbonded faces to deter woodworm.
- How much time should I budget for notching and mortising a Lincoln barn frame? Expect 4–6 hours for a typical 12×16-foot frame with 12 mortises and 20 notches, using power tools. Hand tool methods may triple that time. Add 30 minutes per joint for test fitting and adjustments.
- What is the recommended depth for a tenon on a Yankee Barn Homes Lincoln beam? Standard tenon depth is one-third of the beam thickness. For a 6×6 beam, a 2-inch-deep tenon, 2 inches wide, and 3 inches long is typical. Always check the kit’s engineering plans for specific dimensions.
- Can I rent a chain mortiser for a one-time Lincoln barn build? Yes, many tool rental centres (e.g., HSS Hire or Brandon Hire Station) in the UK offer chain mortisers for about £80–£120 per day. Ensure the machine is set for 1-1/2-inch or 2-inch bits to match your mortise width.
Final Considerations for Cutting and Joinery
Successful notching and mortising for a Yankee Barn Homes Lincoln foundation prep and concrete considerations must be part of the planning—your foundation must allow for the beam layout. Likewise, insulating for four-season comfort after assembly requires that joints are well-sealed. For maximising loft space with flooring solutions, remember that floor joist mortises must align exactly with loft beam notches. And before ordering kit components, review the buying guide cost vs. value analysis to ensure tool costs fit your budget.