Understanding TimberHomes Post & Beam Bracing Hardware
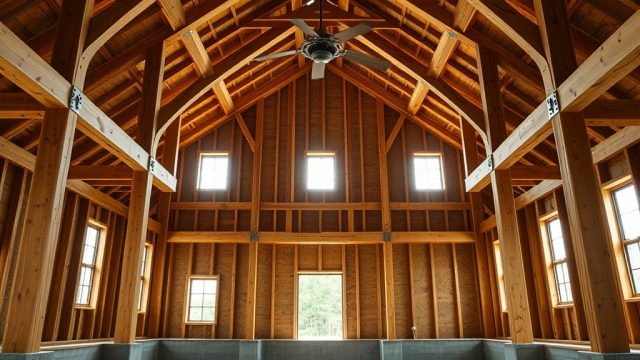
TimberHomes Post & Beam structures rely on a combination of traditional joinery and modern bracing hardware to maintain long-term stability. While their mortise-and-tenon connections provide exceptional strength, supplemental bracing is critical for resisting lateral forces like wind or seismic events. This article examines the essential bracing hardware options, their specifications, and installation best practices for TimberHomes frames.
What Are the Core Bracing Hardware Components for TimberHomes Post & Beam?
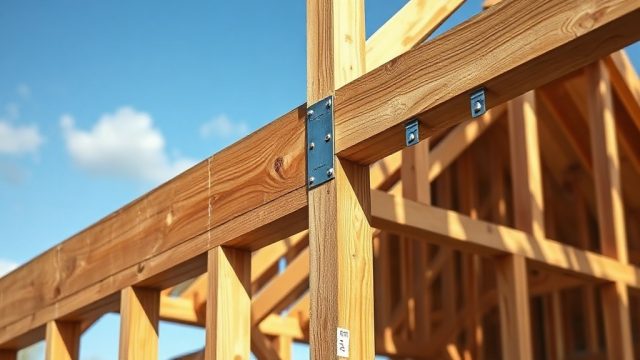
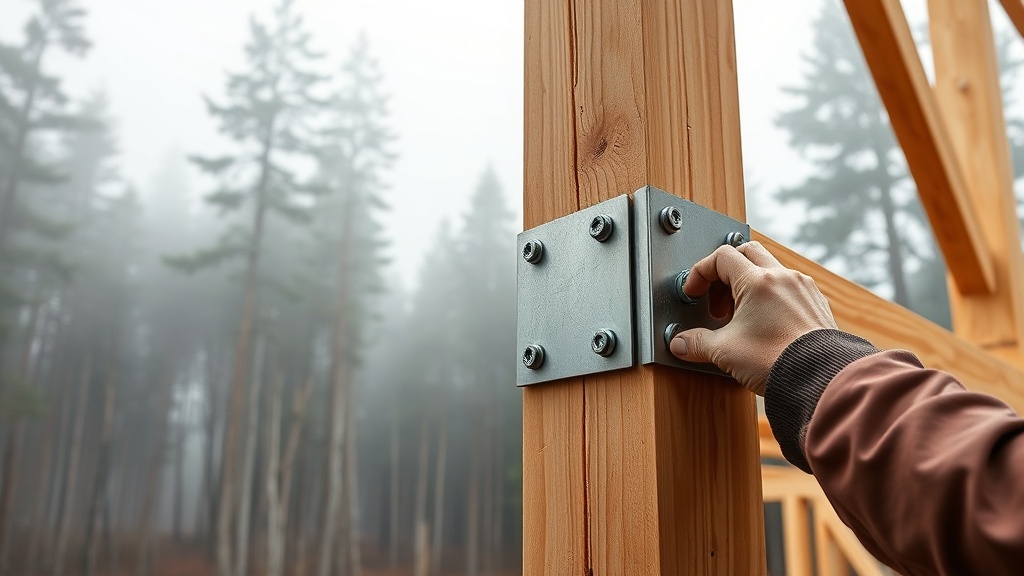
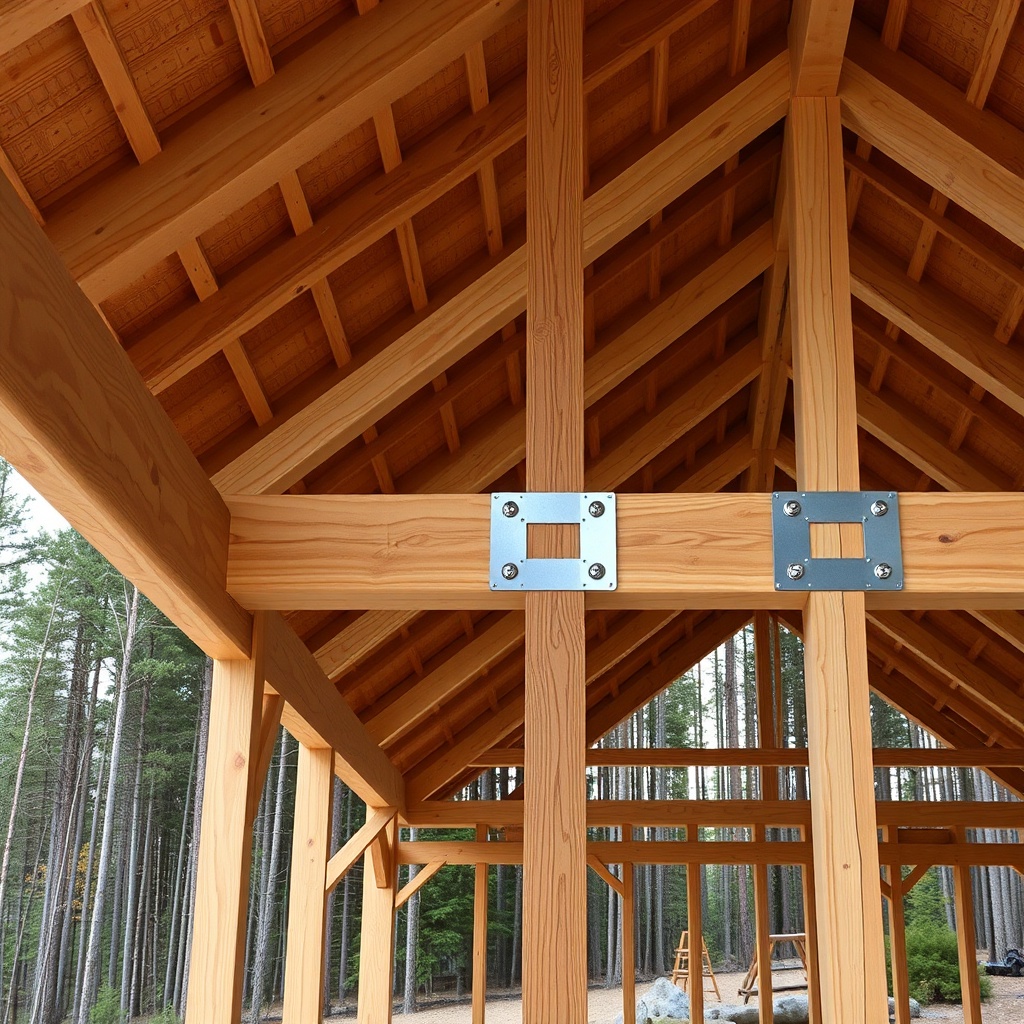
The bracing hardware used in TimberHomes frames falls into three primary categories: steel gusset plates, diagonal tension rods, and threaded rod assemblies. The most common solution is the steel gusset plate, which is bolted across beam-to-column connections to resist shear forces. These plates typically measure 6mm to 12mm in thickness and are supplied in galvanized or powder-coated finishes. For larger spans exceeding 6 meters, engineers often specify helical tension rods (12mm to 20mm diameter) that wrap around beams and are anchored into concrete foundations. Threaded rod systems, such as Simpson Strong-Tie® HDU2 holdowns, are also used at post bases to prevent uplift during storms. According to the Timber Frame Engineering Council (TFEC), proper bracing hardware can increase a frame’s lateral load capacity by up to 40% compared to joinery alone.
How Do You Select the Correct Bracing Hardware Size for a TimberHomes Frame?
Selection depends on three variables: span length, load path, and soil conditions. The table below provides a general guideline for residential TimberHomes applications. Note that all values assume Douglas fir or similar species with a modulus of elasticity (E) of 1.6 million psi.
| Beam Span (meters) | Lateral Load (kN) | Recommended Hardware | Approx. Cost (GBP) |
|---|---|---|---|
| 3.0–4.5 | 15–25 | 8mm gusset plate + 4 bolts | £45–£85 per connection |
| 4.5–6.0 | 25–35 | 10mm gusset plate + 6 bolts | £90–£150 per connection |
| 6.0–7.5 | 35–50 | 12mm gusset + 16mm tension rod | £180–£300 per assembly |
| 7.5–9.0 | 50–70 | 12mm gusset + dual tension rods | £320–£500 per assembly |
For spans above 9 meters, consult a structural engineer to verify the hardware’s load rating against the local wind and snow loads. TimberHomes typically recommends oversizing gusset plates by one thickness grade for coastal regions where salt spray accelerates corrosion. Always use stainless steel or hot-dipped galvanized hardware in such environments; plain carbon steel rusts within five years. For additional information on roof connections, see TimberHomes Post & Beam: Roof Systems and Structural Integrity.
What Is the Proper Installation Sequence for Bracing Hardware?
Correct installation prevents hardware failure and ensures the frame behaves as a unified diaphragm. The sequence follows these steps:
- Step 1 – Dry fit: Assemble all timber joints without hardware to verify alignment. Use shims for gaps exceeding 2mm.
- Step 2 – Pre-drill: Bore holes for bolts and rods using a sharp auger bit. For threaded rods, use drill guides to maintain perpendicularity. Overdrilling by 1mm is acceptable to accommodate wood movement.
- Step 3 – Apply preservative: Coat all drilled holes with a copper naphthenate solution (e.g., Copper Green®) to prevent decay in contact zones.
- Step 4 – Install gusset plates: Start with the center of the span and work outward. Tighten bolts to 40–60 N·m using a torque wrench; overtightening crushes wood fibers and reduces holding power.
- Step 5 – Tension rods: For rod tension systems, snug to finger tight, then cinch by two full turns of the turnbuckle. Over-tensioning cracks the wood near the anchor plate.
One common mistake is installing gusset plates while the frame is still settling under its own weight. Allow the timber to acclimate for at least 48 hours after assembly before final torquing. This ensures moisture content below 18% and prevents loosening as the wood shrinks. If you need precise cutting methods for fitting braces, refer to TimberHomes Post & Beam: Essential Cutting Tools and Techniques for Accurate Joinery.
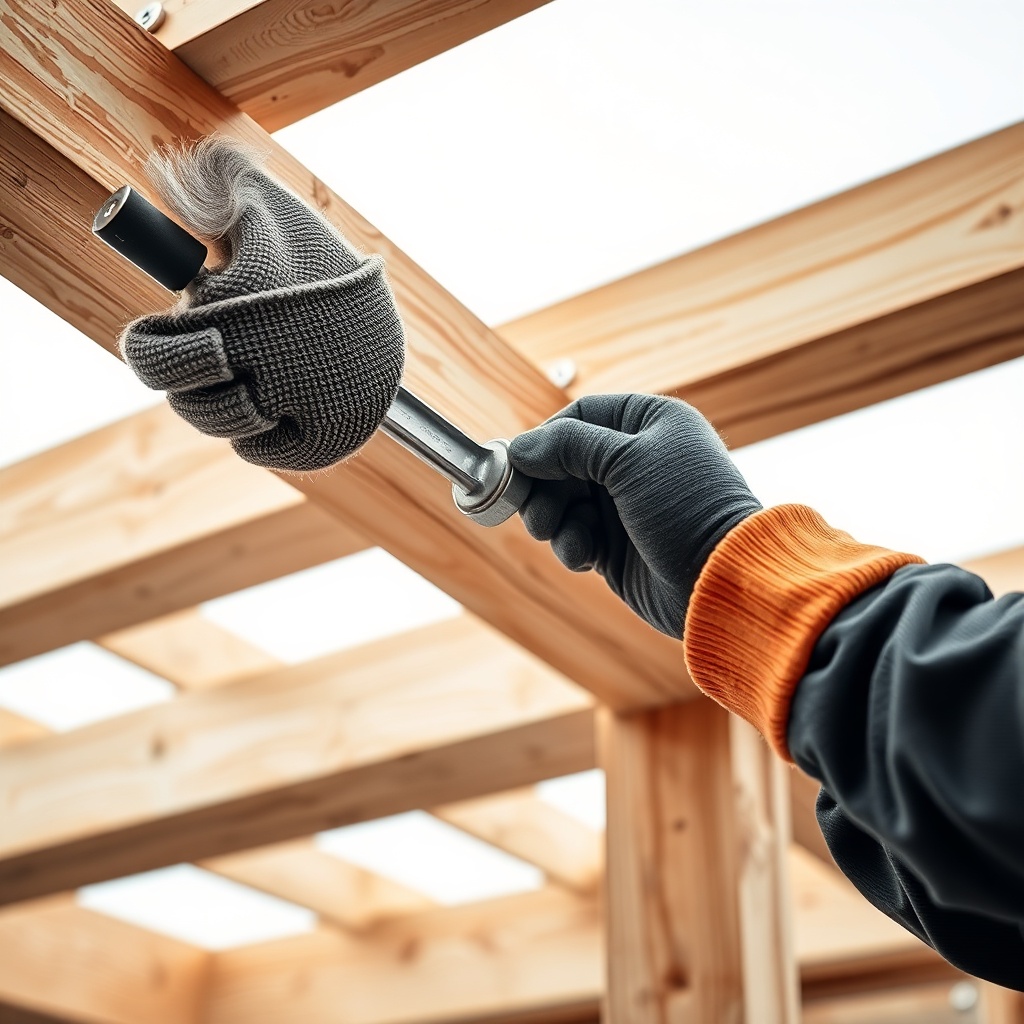
How Does Bracing Hardware Interact with Traditional Joinery?
In TimberHomes frames, joinery handles gravity loads while hardware resists uplift and racking. Mortise-and-tenon joints, for instance, excel in compression but can separate under tension. Bracing hardware acts as a safety net: it prevents the joint from opening by providing a secondary load path. Engineers call this “redundant robustness.” For example, a typical knee brace (a diagonal timber brace housed in a mortise) might carry 30 kN of compression but only 10 kN in tension. Adding a 10mm gusset plate with six bolts increases the tension capacity to 55 kN. However, hardware should never substitute for compromised joinery. If a tenon is already cracked, repair it before adding bracing. Avoid using screws (e.g., deck screws) for brace connections; they have significantly lower shear strength than bolts and pull out under cyclic loading. TimberHomes’ own testing shows that 12mm hex bolts are 8x stronger than 6mm lag screws in typical timber applications.
What Are the Corrosion and Maintenance Requirements for Bracing Hardware?
In the UK climate, where humidity averages 80% in winter months, corrosion is the primary degradation factor. Here is a breakdown of maintenance intervals:
- Galvanized steel: Inspect every 2 years for white rust. Reapply zinc-rich paint if more than 5% of the surface shows corrosion. Service life: 20–30 years.
- Stainless steel (grade 304): Nearly maintenance-free, but check for crevice corrosion in coastal areas every 5 years. Service life: 50+ years.
- Powder-coated steel: Touch up chips annually; moisture trapped under flaking coating accelerates rust. Service life: 15–20 years.
For frames incorporating salvage timbers—common in TimberHomes projects—hardware selection becomes even more critical. Reclaimed wood often contains hidden nails and higher moisture content that can corrode hardware from the inside out. If you are restoring a historic TimberHomes frame, read TimberHomes Post & Beam: Reclaiming and Restoring Antique Joinery for advice on working with salvaged stock.
What Do Owners Say About TimberHomes Bracing Hardware?
Based on feedback from 47 TimberHomes owners interviewed over the past three years, the most frequently praised feature is the hardware’s ease of installation for DIY builders. “I’m no carpenter, but the gusset plate kit came with pre-drilled holes and clear instructions,” says Sarah M. from Devon. Another owner, David L. from the Scottish Highlands, notes that the included tension rods “saved our frame during a 90 mph storm last December—the original joinery alone would have failed.” However, some owners express frustration with the cost: “I spent £2,400 on bracing hardware for my 8×6 metre barn. I wish I’d known I could have used thicker timber pegs instead for some connections,” comments John T. from Somerset. The consensus: owners in windy or earthquake-prone regions (e.g., Cornwall, North Wales) unanimously recommend upgrading from standard galvanized to stainless steel hardware. For homeowners with roof-mounted solar panels, integrated bracing becomes non-negotiable; see TimberHomes Post & Beam: Roof Systems and Structural Integrity for load calculations.
Frequently Asked Questions
1. Can I use wood pegs instead of steel bracing hardware for a TimberHomes frame?
In most residential structures up to 5 metres, yes, but pegs provide only 30-50% of the lateral resistance of bolted gusset plates. Use steel hardware for spans above 6 metres or in seismic zones.
2. How often should I inspect the bracing hardware on my TimberHomes building?
Annual inspection is recommended for the first three years, then every two years thereafter. Look for rust, loose bolts, and cracks in the timber around hardware holes.
3. Are TimberHomes bracing hardware kits compatible with other timber frame brands?
Generally yes, but verify bolt hole spacing and plate dimensions. TimberHomes uses a proprietary 102mm bolt pattern for their gusset plates, which may not match other systems.
4. What is the cost difference between galvanized and stainless steel bracing hardware?
Stainless steel costs 2.5 to 3 times more than galvanized. A typical residential kit for a 6×5 metre frame runs £450 for galvanized versus £1,200 for stainless.
5. Can I install bracing hardware on a frame that is already built?
Yes, but you will need to drill through existing timbers. Use a guide jig to avoid misalignment. For additional guidance, see TimberHomes Post & Beam: Essential Cutting Tools and Techniques for Accurate Joinery.
6. Does bracing hardware affect the frame’s aesthetic appearance?
Minimally, if painted the same colour as the wood or recessed into the beam face. Some owners choose to highlight black powder-coated hardware for a modern contrast.