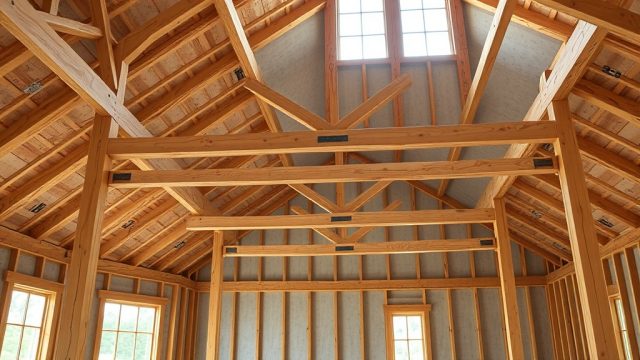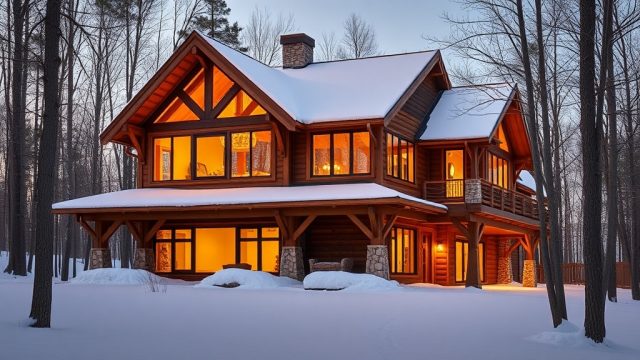
Introduction to TimberHomes Post & Beam Finishing and Insulation
TimberHomes Post & Beam structures are renowned for their timeless beauty and robust engineering, but achieving true energy efficiency in these buildings requires a meticulous approach to finishing and insulation. Owners and builders must navigate the delicate balance between preserving exposed timber aesthetics and sealing the building envelope against heat loss and moisture intrusion. This guide explores the specific techniques, materials, and considerations that define high-performance TimberHomes finishes and insulation systems, ensuring comfort and durability for decades.
What Finishing Systems Best Protect TimberHomes Post & Beam Without Trapping Moisture?
Moisture management is the single most critical factor in timber frame finishing. TimberHomes structures, with their massive posts and beams, move naturally with seasonal humidity changes. A finish that seals too tightly can trap moisture within the wood, leading to rot, peeling coatings, and structural degradation. The ideal finish allows the timber to “breathe” while repelling liquid water.
Professional timber framers often recommend a three-coat penetrating oil system or a high-quality exterior-grade varnish designed specifically for large timber sections. Penetrating oils, such as those based on tung oil or linseed oil blends, soak into the wood fibers, providing protection from within. They do not form a surface film, so they accommodate wood movement without cracking. For interior timbers, a low-VOC, clear matt finish is preferred to highlight the grain and joinery without glare.
For exterior surfaces exposed to UV and rain, a two-part pigmented stain with UV blockers is essential. Unlike paints that peel and trap moisture, stains penetrate, and they can be re-applied without stripping. Contractors working on TimberHomes Post & Beam projects typically avoid film-forming urethanes on solid timbers, reserving them only for high-traffic interior surfaces like stair treads or railings where abrasion resistance is paramount. The cost for a professional finishing package on a typical 2,000-square-foot TimberHomes home runs between $8,500 and $14,000 in local currency, depending on the complexity of the joinery and the number of exposed faces.
How Does Closed-Cell Spray Foam Compare to Open-Cell for Timber Frame Insulation?
The choice between closed-cell and open-cell spray polyurethane foam (SPF) is one of the most debated topics in timber frame energy efficiency. TimberHomes Post & Beam structures have deep cavities between the frame members, making them ideal for high-R-value insulation. However, the timber itself acts as a thermal bridge, so careful planning is necessary.
Closed-cell spray foam (typically 2.0 lb/ft³ density) offers an R-value of about 6.5 to 7.0 per inch, providing high thermal resistance in a thinner application. It also functions as a vapor barrier, which can be beneficial in humid climates but requires strict control to avoid trapping moisture in the timber. A 4-inch application yields roughly R-26 to R-28. The material cost is higher, averaging $3.50 to $4.50 per board foot for installation.
Open-cell spray foam (0.5 lb/ft³) has an R-value of approximately 3.5 to 4.0 per inch, so a thicker layer is needed to achieve the same insulation value. It is vapor-permeable, meaning it allows moisture to pass through, reducing the risk of condensation against cold timbers. This makes it a popular choice for timber frames in colder mixed-humidity zones. A 6-inch application provides around R-21 to R-24. Costs are lower, at $2.00 to $2.80 per board foot.
| Property | Closed-Cell (2.0 lb/ft³) | Open-Cell (0.5 lb/ft³) |
|---|---|---|
| R-Value per Inch | 6.5 – 7.0 | 3.5 – 4.0 |
| Vapor Permeability | Vapor barrier (Class II) | Vapor permeable (Class III to IV) |
| Moisture Risk to Timbers | Moderate to high (needs careful sealing) | Lower (allows drying) |
| Recommended Thickness | 4–5 inches | 6–8 inches |
| Cost per Board Foot (Local Currency) | $3.50 – $4.50 | $2.00 – $2.80 |
| Air Seal Quality | Excellent | Very good |
| Acoustic Damping | Good | Excellent (absorbs sound) |
For TimberHomes Post & Beam projects, many architects recommend a hybrid approach: closed-cell foam on the exterior side of the cavity (nearest the sheathing) to maximize R-value and air sealing, with a 1-inch air gap or drainage plane behind the siding. The interior side is then insulated using open-cell or a high-density cellulose, allowing the timber frame to dry inward if needed. Regardless of the foam choice, all spray foam must be covered with a thermal barrier (e.g., ½-inch drywall or intumescent coating) for fire safety.
What Is the Best Wall Assembly for TimberHomes Post & Beam: Exterior Insulation or Cavity Fill?
Two primary wall assembly approaches exist for TimberHomes: the “thermal envelope” strategy (continuous exterior insulation) and the “cavity fill” strategy (insulation between the frame members). Each has distinct implications for timber preservation and energy performance.
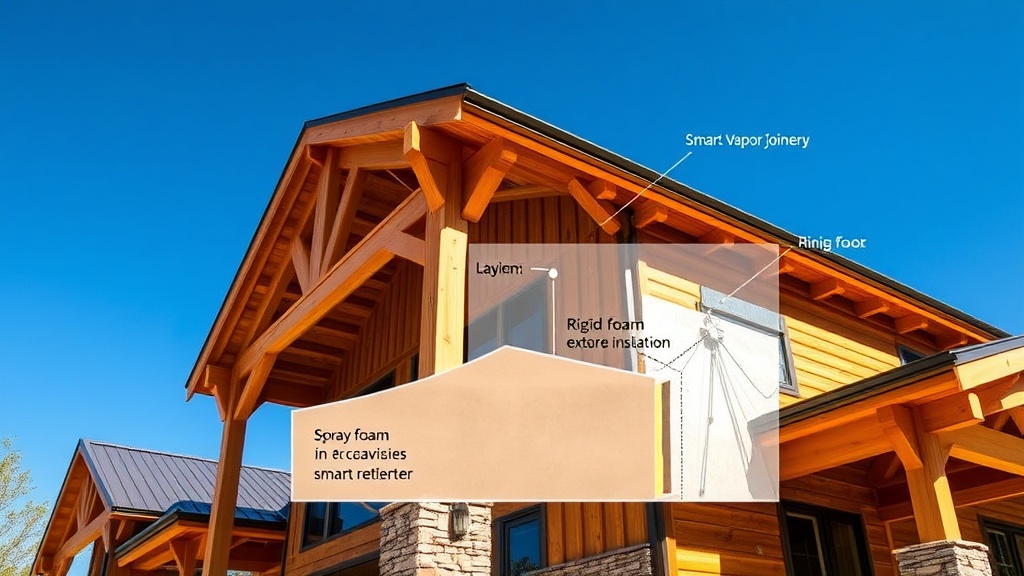
Exterior continuous insulation involves wrapping the entire timber frame structure with rigid foam panels (often polyiso or XPS) before installing the siding. This method minimizes thermal bridging through the posts and beams, as the insulation layer is uninterrupted. A typical assembly might include 3 inches of polyiso (R-18) on the exterior plus a 2-inch cavity of closed-cell foam inside. This system can push the dew point outward, reducing condensation risk on the timbers. The exterior insulation also protects the timber from extreme temperature swings. However, it thickens the wall considerably, requiring deeper window jambs and longer fasteners for attachment. Installation costs in local currency range from $11,000 to $16,000 for a standard home.
Cavity fill insulation places high-density spray foam or dense-pack cellulose between the posts and beams, with rigid foam or fiberglass batts in the stud cavities (if a stud wall is built inside). This approach is simpler and more traditional for timber frames, but it leaves the timber itself exposed as a thermal bridge. For a 10-inch post, the R-value of the wood itself is only about R-10 (compared to R-40+ for the insulated cavity). This can lead to localized heat loss and potential condensation on the timber surface in cold climates unless interior humidity is carefully managed. The cost is typically lower, at $8,000 to $12,000, but may lead to higher heating bills.
For high-performance TimberHomes projects, a hybrid assembly is often the recommended path: continuous exterior rigid insulation (at least 2 inches) combined with a well-sealed cavity fill of open-cell foam or dense-pack cellulose. This provides the best of both worlds—high overall R-value and low condensation risk. Whichever assembly is chosen, careful attention must be paid to the roof systems, as the roof-to-wall interface is a common leak point. Many experienced builders find that integrating the insulation strategy with the structural design from the start—including the joinery layout—prevents costly retrofits later.
Which Air Sealing Techniques Are Non-Negotiable for TimberHomes Energy Efficiency?
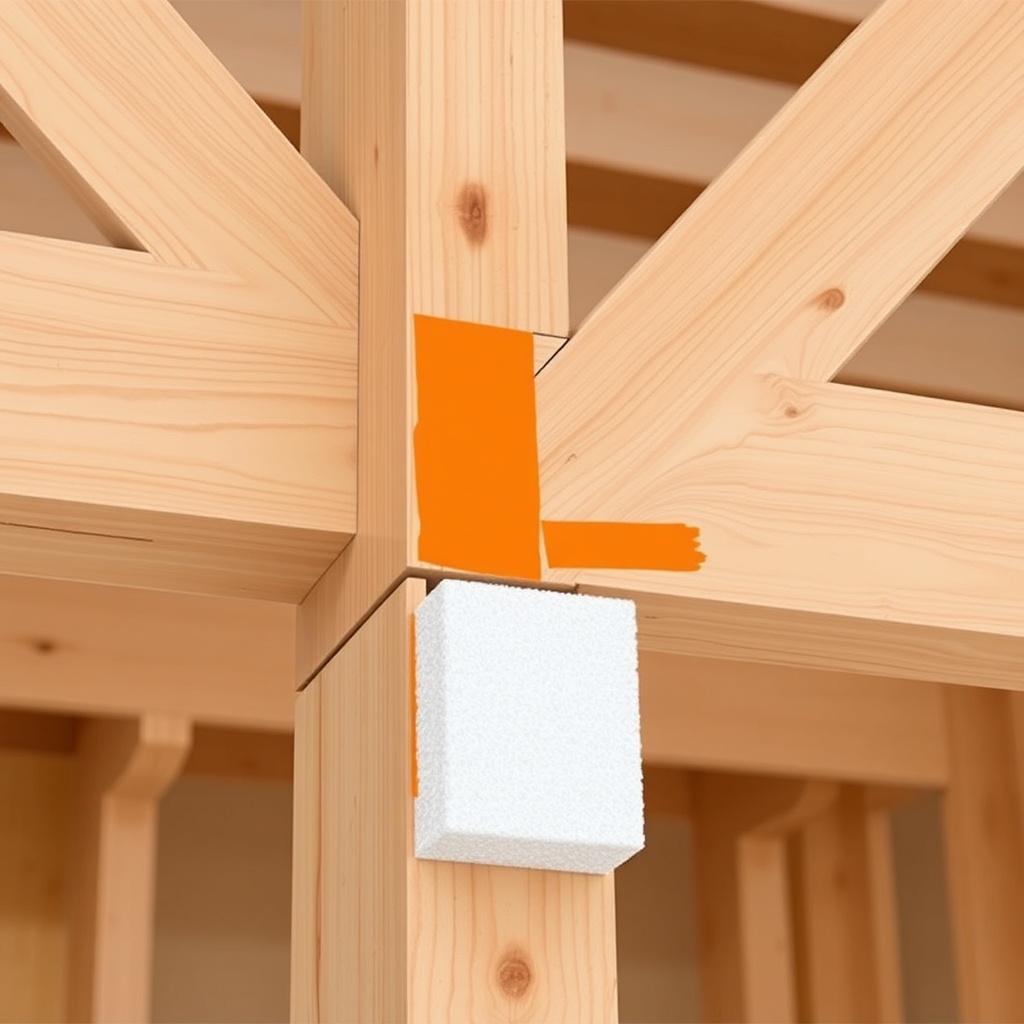
Air leakage is the enemy of any timber frame’s energy performance. TimberHomes Post & Beam structures have hundreds of linear feet of joints—where posts meet beams, where beams meet rafters, and where the frame meets windows and doors. Each joint is a potential air path. Without meticulous air sealing, insulation loses much of its effectiveness, and moisture-laden interior air can condense on cold timbers.
The primary air sealing methods include:
- Continuous gaskets at sill plates: A ¼-inch closed-cell foam gasket under the bottom plate of the frame prevents air from infiltrating at the foundation. This should be installed before the frame is erected.
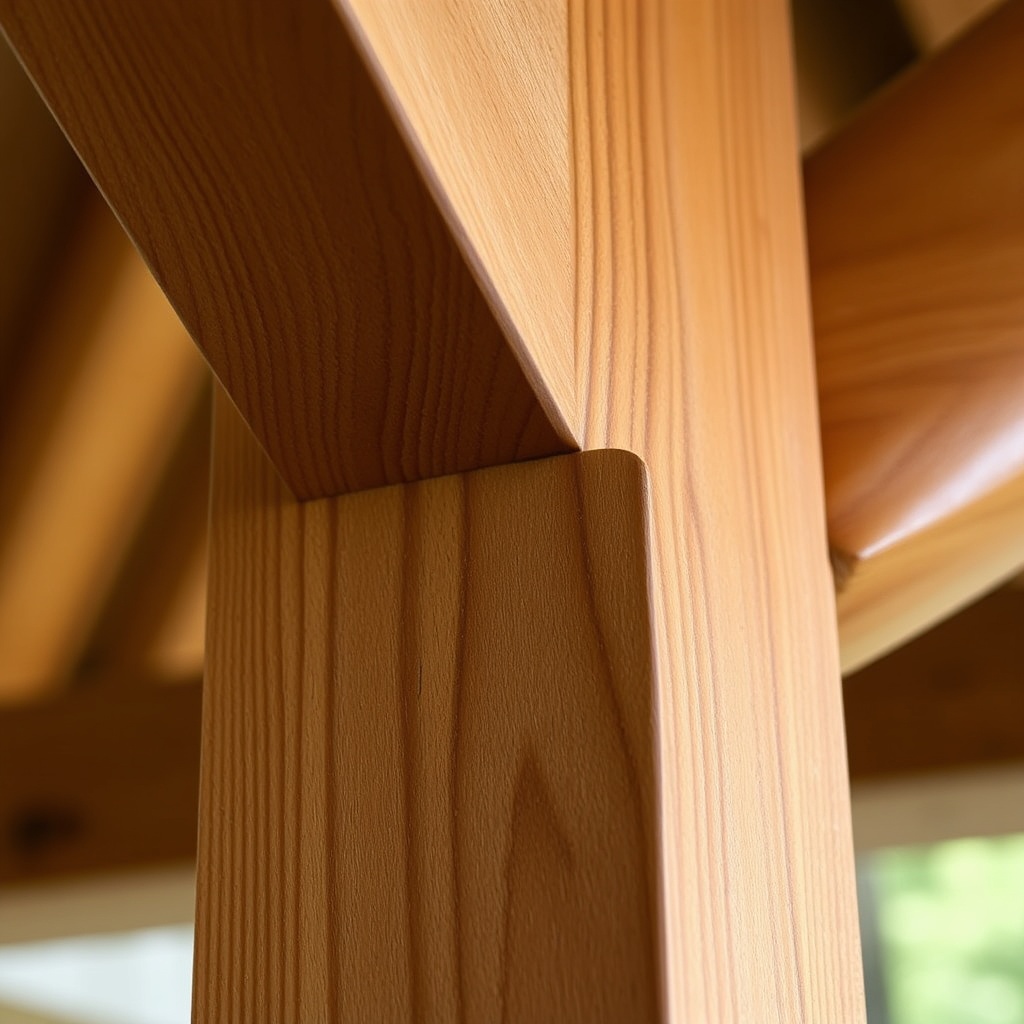
- Caulking at all timber joints: Every mortise-and-tenon or dovetail joint should receive a bead of high-quality, flexible polyurethane sealant (e.g., SikaFlex or OSI Quad) during assembly. This not only seals but also helps ensure structural integrity by locking out air and moisture.
- Blown-in sealant around window and door rough openings: Use low-expansion foam designed for windows (not the high-expansion type, which can bow frames). This should be applied after the frame is set but before interior finishes.
- Taped seams at the insulation face: If using rigid foam exterior insulation, all panel seams must be taped with specialized acrylic or butyl flashing tape. This creates a continuous air barrier.
- Internal vapor control layer: A smart vapor retarder (e.g., Intello Plus or CertainTeed MemBrain) should be installed on the warm side of the insulation, with all overlaps taped. This layer adapts its permeability based on humidity, allowing the wall to dry in summer while limiting vapor drive in winter.
Testing the building envelope with a blower door test is a wise investment. A target of 1.0 ACH50 (air changes per hour at 50 pascals) or lower is achievable with proper sealing. The cost of professional air sealing for a TimberHomes structure ranges from $3,000 to $6,000, but it typically reduces heating and cooling bills by 20% to 30% compared to a leaky structure.
How Does the Choice of Interior Finish Impact the Timber’s Long-Term Integrity?
Interior finishes for TimberHomes post and beam are not purely aesthetic—they directly affect wood moisture content and long-term durability. The interior environment of a tightly sealed, energy-efficient TimberHomes home differs from that of a drafty historic barn. With low air leakage and controlled humidity, the interior timbers can become more susceptible to drying cracks (checks) or mold if the finish is chosen poorly.
For interior timbers that are fully exposed, paste wax or hard wax oil finishes offer excellent moisture modulation. These finishes allow the wood to absorb and release humidity slowly, preventing large dimensional changes. Danish oil or soap finishes also work well, providing a matte sheen that resists dust accumulation without sealing the wood hermetically. Costs for interior timber finishing typically range from $3.50 to $6.00 per square foot in local currency, including labor and materials.
Finish maintenance is equally important. TimberHomes owners should inspect the finish annually for areas of wear, particularly near windows or doors where UV exposure is highest. Light sanding and a fresh coat of oil every 3–5 years preserves the wood and extends its life. Avoid using polyurethane or epoxy coatings on large interior beams unless they are in high-wear areas—these trapped moisture behind the film can lead to black mold growth or the “milky” haze of delaminated varnish over time. If the structure has undergone restoration, the new finish should be matched to the existing wood’s moisture content to avoid uneven absorption and peeling.
What Are the Best Insulation Approaches for TimberHomes Roofs and Ceilings?
The roof system of a TimberHomes Post & Beam home presents the greatest thermal challenge. Heat rises, and a poorly insulated roof can account for up to 40% of total heat loss. Additionally, the roof’s structural timbers, such as purlins and rafters, often remain exposed on the interior, creating thermal bridges at every intersection with the insulation layer.
The most common high-performance roof assembly for TimberHomes involves raised heel trusses or structural insulated panels (SIPs) on top of the timber frame. SIPs provide a continuous insulated cover over the entire roof, eliminating thermal bridging through the rafters. A typical 10-inch SIP roof offers R-38 to R-40. The timber structure below remains fully exposed to the interior, creating a beautiful “cathedral” ceiling. The cost for a SIP roof system (materials and installation) on a 2,500-square-foot TimberHomes home ranges from $18,000 to $30,000 in local currency.
Alternatively, a cold roof assembly can be used, where ventilation channels above the insulation prevent ice dam formation and allow the roof deck to dry. This is particularly important in snowy climates. Here, rigid foam insulation is installed between the rafters, with a ventilated air gap above the insulation. The space below the insulation is then finished with a drywall or wood ceiling. This approach is less expensive (around $12,000 to $18,000) but may result in some thermal bridging through the timber rafters if only cavity insulation is used. To minimize bridging, a layer of continuous rigid foam (2–3 inches) can be installed over the rafters under the sheathing, combined with dense foam or cellulose between the rafters—known as a “hybrid” roof.
Regardless of the approach, critical details include sealing around any timber connections that penetrate the roof plane—such as ridge beams or king posts—and ensuring the vapor retarder is on the warm side of the insulation. Many TimberHomes owners prefer the SIP route for its combination of high R-value and simplicity of installation, though it demands precise planning for electrical runs and venting. A blower door test after roof installation helps confirm the assembly’s airtightness.
What Owners Say About Their Finishing and Insulation Choices
Owners of TimberHomes Post & Beam homes consistently highlight the importance of professional application of finishes and insulation. One long-term owner on a forested property in Vermont noted that their penetrating oil finish, after 12 years, required only a single recoating—but that the initial three-coat application by a contractor was non-negotiable. “We tried a cheaper DIY varnish on a pergola, and it peeled within two seasons. The timber itself stayed fine, but the finish cost triple to strip and redo,” they reported.
Another owner who built a high-performance TimberHomes home using exterior polyiso insulation and closed-cell spray foam inside stated that their heating costs are under $800 per year in local currency for a 3,000-square-foot home. They specifically emphasized the importance of sealing around the electrical boxes and recessed lights in the timber frame ceiling, which many contractors overlook. “Our electrician wasn’t used to timber frames—he wanted to run wires inside the hollow timber, but we had to have a fire-rated chase instead. Doing it right saved us from a potential fire hazard.”
Multiple owners recommend hiring a contractor with specific timber frame experience for insulation work. “Don’t let a general spray foam crew touch a TimberHomes frame. They think your posts are just another wall. You need someone who understands that the wood will move and that the seals need to flex,” said one owner from British Columbia. For interior finishing, several owners praised the use of a hard wax oil, which they said brought out the grain without creating a plastic-like sheen. One owner added, “We regret not sealing the ends of every beam—the end grain sucks moisture more than anything. We learned that after a few dry seasons.”
Frequently Asked Questions
Can I use fiberglass batt insulation in a TimberHomes wall cavity?
Fiberglass batts are not recommended for timber frame cavities because they do not seal air leaks and can trap moisture against the wood. The gaps around irregular timber frame walls allow convection loops that drastically reduce effective R-value. Dense-pack cellulose or spray foam are far superior choices.
How often should I reapply finish to exterior TimberHomes timbers?
Exterior timbers should be inspected annually, especially on south and west faces which receive the most UV exposure. Penetrating stains typically require recoating every 3–5 years. Film-forming finishes may need more frequent maintenance if they crack or peel. A general rule: if water no longer beads on the surface, it is time to reapply.
Does insulating behind the exposed timbers cause mold?
Yes, if the insulation is not combined with proper vapor control and air sealing. The key is to keep the timbers on the warm side of the insulation (with open-cell foam) or to provide an air gap behind the insulation to allow drying. Consult a building scientist for your specific climate zone before deciding.
What is the cost of finishing the interior of a TimberHomes home?
Expect to pay between $3.50 and $6.00 per square foot of timber surface area in local currency for professional interior finishing using oils or waxes. This includes sanding, application, and cleanup. If you want a high-gloss polyurethane on select high-wear areas, add an additional $2.00–$3.00 per square foot.
Can I install spray foam insulation after the timber frame is enclosed?
Yes, but careful access planning is essential. If the interior wall finish is already in place, the foam must be injected through drilled holes, which then need to be plugged (a process called “retrofit foam”). This is more expensive and less tidy than installing foam before the interior cladding.
What is the best vapor barrier strategy for a TimberHomes home in a cold climate?
In cold climates (IECC zone 5 and above), use a smart vapor retarder on the interior warm side of the insulation. This allows the wall to dry inward during summer while limiting vapor diffusion in winter. Do not install a polyethylene vapor barrier on both sides, as this can trap moisture in the timber frame cavity.