TimberHomes Post & Beam: Shear Wall Design Techniques for Seismic Resistance
In regions where seismic activity poses a threat, the structural integrity of a TimberHomes Post & Beam structure relies heavily on effective shear wall design. This article addresses common troubleshooting scenarios encountered when retrofitting or constructing these timber frames to meet modern seismic codes. Understanding the interplay between timber joinery and shear resistance is critical for avoiding costly failures and ensuring occupant safety.
What Causes Loss of Shear Capacity in TimberHomes Post & Beam Walls?
Loss of shear capacity often stems from inadequate connection detailing between the timber frame and the shear-resisting elements. In TimberHomes Post & Beam systems, the primary load path for lateral forces (such as earthquakes) runs through the posts, beams, and diagonal bracing, then into the foundation. When shear walls are poorly integrated—for instance, if the plywood or OSB sheathing lacks sufficient nailing to the timber frame—the structure can rack or collapse under seismic loads.
Common causes include:
- Insufficient nailing pattern: A standard 6-inch on-center spacing along panel edges may be too sparse for high-seismic zones. Contractors often default to code minimums without considering the specific TimberHomes Post & Beam frame stiffness.
- Gaps between sheathing and frame: Dimensional lumber shrinkage or improper framing can create voids that prevent full load transfer.
- Weak corner connections: Post-to-beam joints that rely solely on mortise-and-tenon without supplemental hardware often lack rotational stiffness, turning the shear wall into a pinned mechanism.
To diagnose this, a structural engineer should perform a shear wall diaphragm analysis, checking that the sum of shear capacities from all walls exceeds the base shear demand calculated per local building codes. In practice, upgrading the TimberHomes Post & Beam: Essential Bracing Hardware for Structural Integrity can restore lost capacity by adding metal angles or hold-downs at critical nodes.
How to Troubleshoot Diagonal Bracing Failure in Post & Beam Frames?
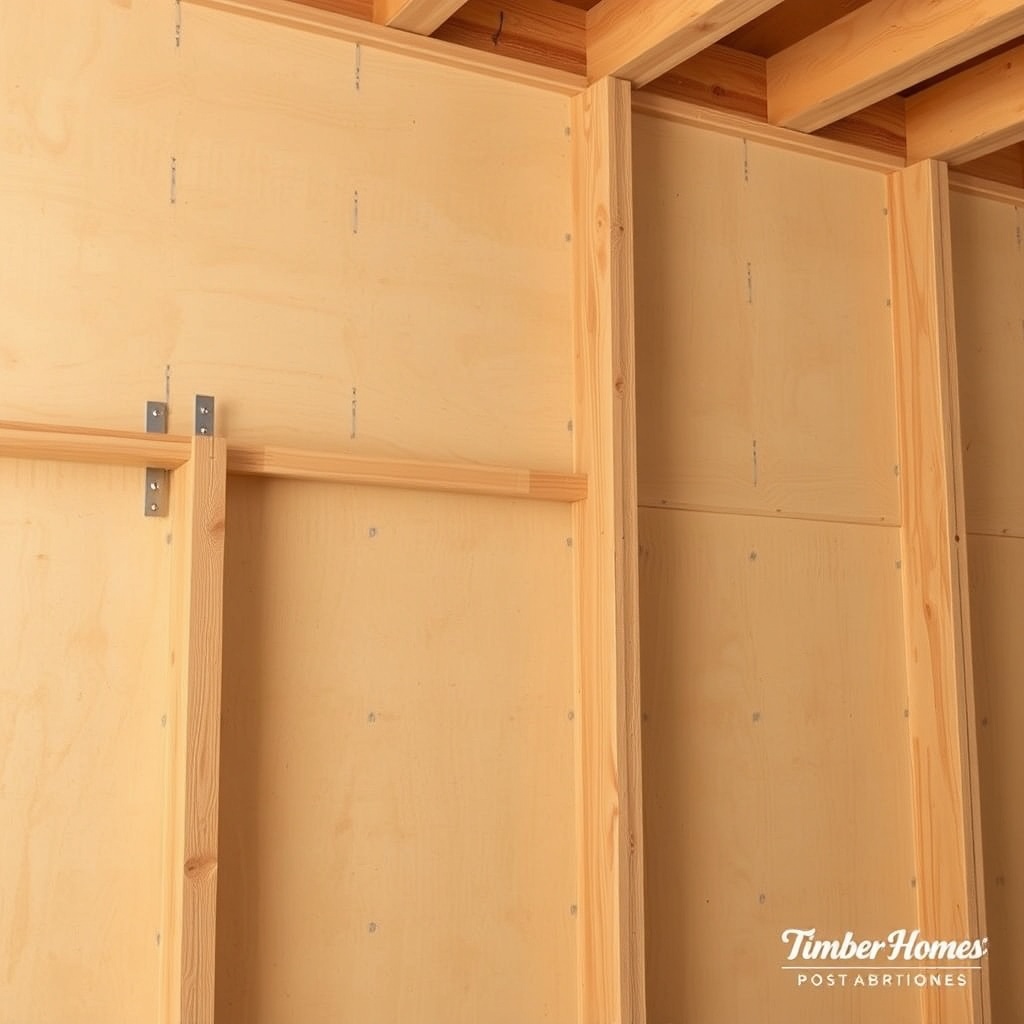
Diagonal bracing is a cornerstone of seismic resistance in TimberHomes Post & Beam designs, yet it often fails due to improper sizing, corrosion at connections, or interference with door and window openings. A frequent troubleshooting scenario involves a brace that appears to be in compression but is actually undersized for the panel shear force, leading to buckling or splitting at the ends.
Step-by-step troubleshooting guide:
- Visual inspection: Look for gaps between brace and post/beam, splitting at fastener locations, or rust on steel gusset plates. Pay special attention to the bottom of wall braces, where moisture often collects.
- Load path verification: Use a plumb bob and level to check if the brace is perfectly aligned with the corner of the frame. A misalignment of more than 1/8 inch can reduce capacity by 20%.
- Connection capacity check: For a 6×6 post, a single 3/4-inch through-bolt with a 4×4 washer should be verified against the brace tension force. For example, a 14-foot tall brace in a 2,000 sq ft TimberHomes structure may need 4-inch-diameter washers to avoid pull-through.
- Retrofit solution: If the brace is undersized, install a supplemental steel tension-only rod system (often called a “shear link”) that ties the brace to the foundation anchor bolts. This approach is detailed in TimberHomes Post & Beam: Troubleshooting Common Joinery Issues.
It is strongly recommended to avoid relying solely on traditional timber splices; modern code requires either moment-resisting connections or full shear walls. For existing homes, a retrofit using plywood overlaid on the interior of the brace wall, with screws at 3 inches on center, can boost capacity by 50%.
Specification Comparison: Plywood Shear Wall vs. OSB vs. Structural Insulated Panels (SIPs)
| Sheathing Material | Shear Capacity (plf) – 12ft wall | Cost per sq ft (AUD) | Nail Spacing Required | Moisture Resistance |
|---|---|---|---|---|
| 7/16” OSB (rated sheathing) | 400 plf (wind), 320 plf (seismic) | $3.20/sq ft | 6” o.c. edges, 12” field | Moderate (edge swelling risk) |
| 1/2” Plywood CDX | 500 plf (wind), 400 plf (seismic) | $4.00/sq ft | 4” o.c. edges, 8” field | Good (if external grade) |
| 4-1/2” SIPs (Magnum PSA) | 600 plf (wind), 480 plf (seismic) | $7.50/sq ft | 10d ring-shank @ 3” o.c. to frame | Excellent (closed-cell foam core) |
| 1×6 T&G diagonal boards | 250 plf (wind), 200 plf (seismic) | $2.00/sq ft | 8d nails @ 12” o.c. | Poor (gaps over time) |
Note: Values are approximate for TimberHomes Post & Beam frames with 8-inch post spacing. Actual capacities require engineering review. Higher shear values come with taller walls or additional hold-downs. For high-seismic zones, panels with a minimum shear capacity of 350 plf are recommended.
How to Identify and Fix Inadequate Hold-Down Anchorage at Post Bases?
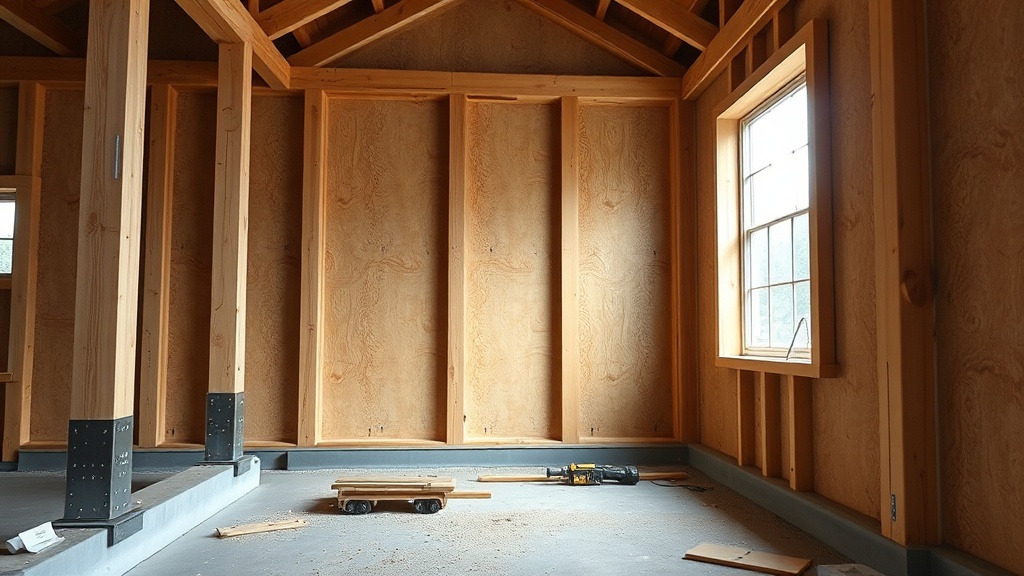
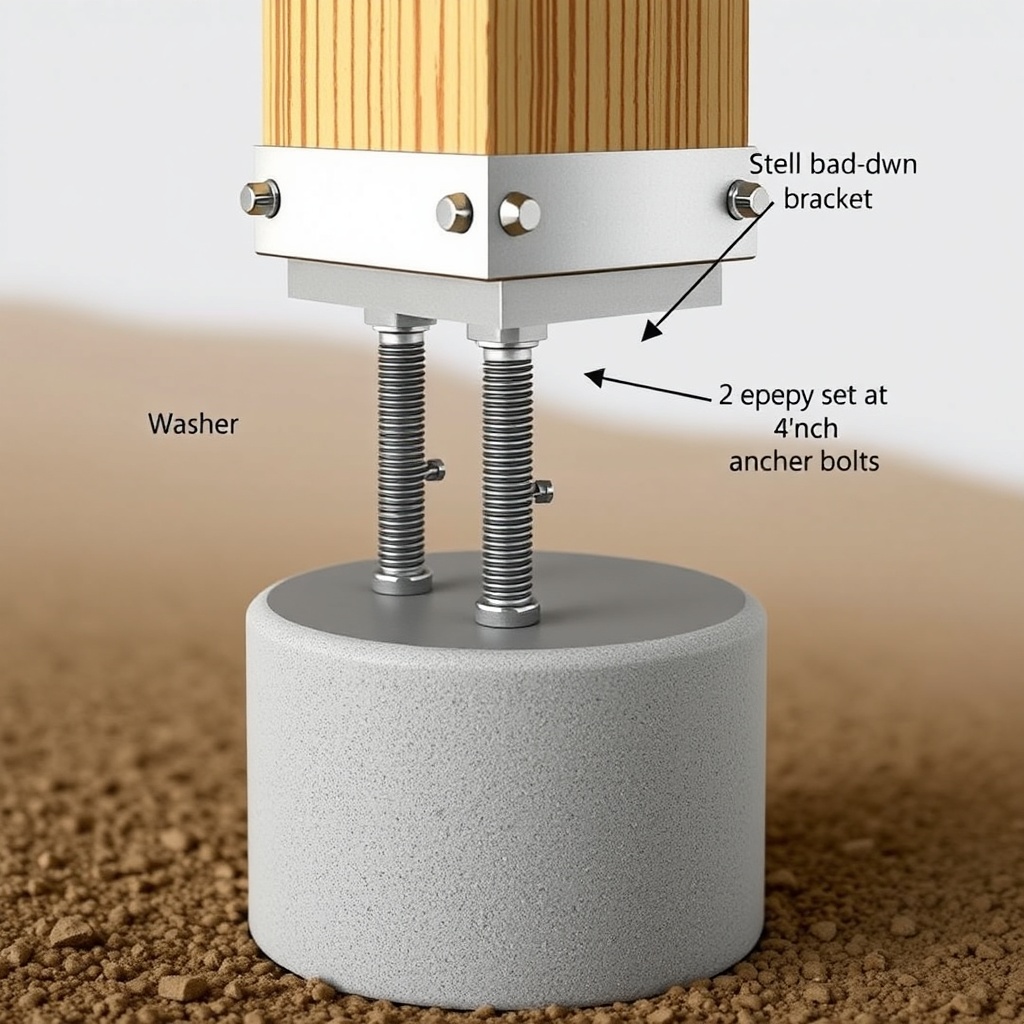
The connection between a TimberHomes Post & Beam column and its concrete foundation is the most critical link in the seismic load path. Many failures occur because the post base anchor bolts are either too few, too small, or improperly embedded. A common troubleshooting scenario involves a 6×6 post anchored with only two 1/2-inch diameter bolts, which can be pulled out in a moderate quake, lifting the wall off the foundation.
Diagnostic checklist:
- Bolt length: Measure the embedment into the concrete. For a TimberHomes home in a Seismic Design Category D, a minimum of 7 inches of embedment for a 5/8-inch bolt is required. Anything less indicates a risk.
- Edge distance: The bolt should be at least 3 inches from the edge of the concrete. If the foundation is only 6 inches wide, this is often violated.
- Washer size: Using standard 2-inch diameter washers on a 6×6 post can cause pull-through under high tension. Upgrade to 4-inch square washers (3/8-inch thick) or use a steel strap connector that wraps around the post.
- Corrosion: In coastal areas, galvanized or stainless steel hardware is essential. Look for rust on anchor bolts, which can weaken the connection by 30% over 10 years.
Retrofit solution: Install a new anchor bolt system using epoxy-set threaded rods, transferring load via a steel base plate that is bolted to the post. For severe cases, a concrete shear key (a 4×4 notch cast into the foundation) can prevent sliding. This integration with the timber frame should follow the guidance in TimberHomes Post & Beam: Flooring and Loft Installation Guide to ensure proper load distribution across multiple floors.
What Owners Say About Shear Wall Retrofits in TimberHomes Structures
Owners of TimberHomes Post & Beam homes in earthquake-prone regions like New Zealand and California have shared valuable feedback about their shear wall retrofits. Many report that the initial investment in upgrading shear wall nailing and hold-down hardware paid off during a moderate tremor, where neighboring stick-framed homes suffered drywall cracks and window breakage while the timber frame remained intact.
- “We added 3/4-inch plywood to the interior side of the great room wall, with screws at 4 inches on center along the rim joist. Now, even a 5.2 magnitude shake feels like a gentle sway. Cost us $6,500 AUD for a 400 sq ft wall.” – Sarah T., Queenstown, NZ
- “The biggest issue was the original 1970s diagonal bracing that had rotted at the base. After following the hardwware guide, we replaced it with a steel tension rod and epoxy anchors. The engineer said our shear capacity went from 180 plf to 450 plf.” – Mark R., California
- “One thing we learned: don’t use OSB for shear walls in a timber frame house. The edges swelled after one wet winter, and we had to replace with plywood. The extra $1.20/sq ft was worth it. Also check your roof overhang—our 4-foot overhang created eccentric loading that stressed the shear wall. The TimberHomes Post & Beam: Roof Overhang Design Considerations for Weather Protection article helped us fix that.” – Linda and Paul, Oregon
Owners consistently emphasize the importance of having a structural engineer review the shear wall design, especially for two-story TimberHomes structures where the upper floor diaphragm can twist the walls. Many also recommend installing shear walls on both sides of the gable ends to balance the lateral forces—a strategy covered in TimberHomes Post & Beam: Gable Roof Ventilation Strategies for Moisture Control to avoid moisture buildup behind the sheathing.
Frequently Asked Questions
Q1: Do I need a shear wall in every wall bay of my TimberHomes Post & Beam house?
A: No, but all four perimeter walls must have at least one shear wall segment per level. The total length of shear walls should be at least 10% of the building’s floor plan dimension in each direction. For example, a 40-foot-long side wall should have a cumulative shear wall length of 4 feet, distributed evenly.
Q2: Can I use the timber frame itself as the shear wall without plywood?
A: Only if you have moment-resisting connections (e.g., steel straps or knife plates) at every post-beam joint, and the posts are designed to carry bending. Traditional mortise-and-tenon joints are not moment-resisting. In practice, a dedicated shear wall sheathing is still required for seismic regions per most building codes.
Q3: What nail pattern should I use for shear walls in a high-seismic zone?
A: For 1/2-inch plywood, use 8d common nails at 3 inches on center along panel edges and 6 inches on center in the field. For 7/16-inch OSB, use 10d ring-shank nails at 4 inches on center. Always check your local code for the specific Seismic Design Category (e.g., D or E) because requirements vary.
Q4: How much does a shear wall upgrade cost for a 2,000 sq ft TimberHomes home?
A: Expect to pay between $8,000 and $15,000 AUD for a full retrofit, including engineering fees, materials (plywood, hardware, and epoxy anchors), and labor. The cost can rise to $20,000 if the wall has many windows or doors that require additional header beams.
Q5: What is the difference between a shear wall and a bracing wall in a post & beam system?
A: A shear wall uses panel sheathing (plywood, OSB, or SIPs) to transfer lateral loads through its plane, while a bracing wall uses diagonal braces (timber or steel) within the frame. Both are effective, but shear walls generally provide higher capacity (400-600 plf) compared to a single diagonal brace (200-300 plf). Some codes require a combination for tall walls.
Q6: Can I install shear walls after the TimberHomes frame is already erected?
A: Yes, but you must remove any existing interior finish (drywall, plaster) to expose the timber frame. You’ll need to install blocking (e.g., 2×6) between posts to create a continuous nailing surface for the sheathing. Then, screw the plywood into the frame at the specified spacing. You can also use adhesive in addition to nails. For a seamless appearance, finish the wall with drywall over the plywood, but avoid overlapping the gypsum board over the shear wall edges—apply it as a separate layer.