TimberHomes Post & Beam: Shear Wall Moisture Control Strategies for Barn Durability
TimberHomes Post & Beam barns are celebrated for their authenticity and structural strength, but moisture intrusion within shear wall assemblies can compromise both durability and energy performance. This article focuses on troubleshooting moisture control in TimberHomes’ post-and-beam shear walls, offering real-world strategies and cost-effective solutions for owners and builders in the UK and Ireland.
How Does Moisture Enter TimberHomes Post & Beam Shear Walls?
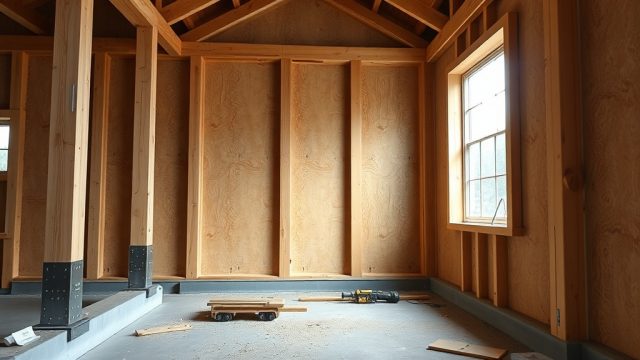
Moisture typically infiltrates through three primary routes: capillary rise from the foundation, wind-driven rain penetrating cladding joints, and condensation within the wall cavity. In TimberHomes barns, shear walls—often composed of structural timber panels or plywood sheathing—are particularly vulnerable if vapour barriers are improperly placed or if drainage planes are blocked. A typical failure mode involves water wicking up from a stone foundation (see TimberHomes Post & Beam: Stone Foundation Repair and Retrofit Techniques) or accumulating behind rain screen cladding due to inadequate flashings.
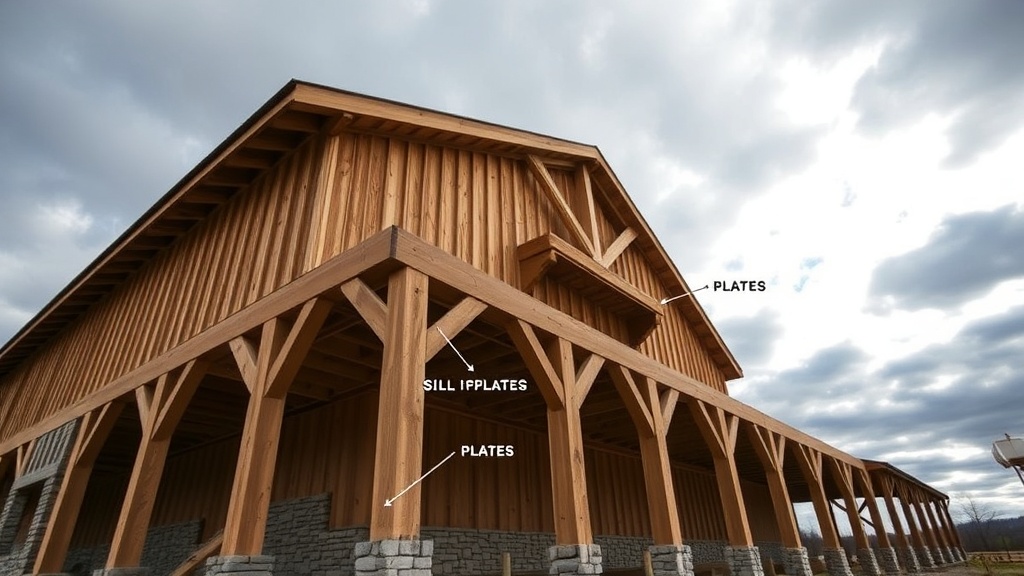
Another common culprit is the lack of a continuous air barrier at the base of the wall, where the sill plate meets the foundation. In TimberHomes designs, the pressure-treated timber sill often sits atop a rubble stone or poured concrete wall. If the sealant or gasket fails, moisture can enter the wall cavity directly. Once inside, it becomes trapped behind vapour-impermeable interior finishes, leading to rot over several seasons. Diagnostic checks should include visual inspection of sill plates for wicking marks and measurement of moisture content above 20% using a pin-type meter.
What Are the Best Moisture Barriers for These Shear Walls?
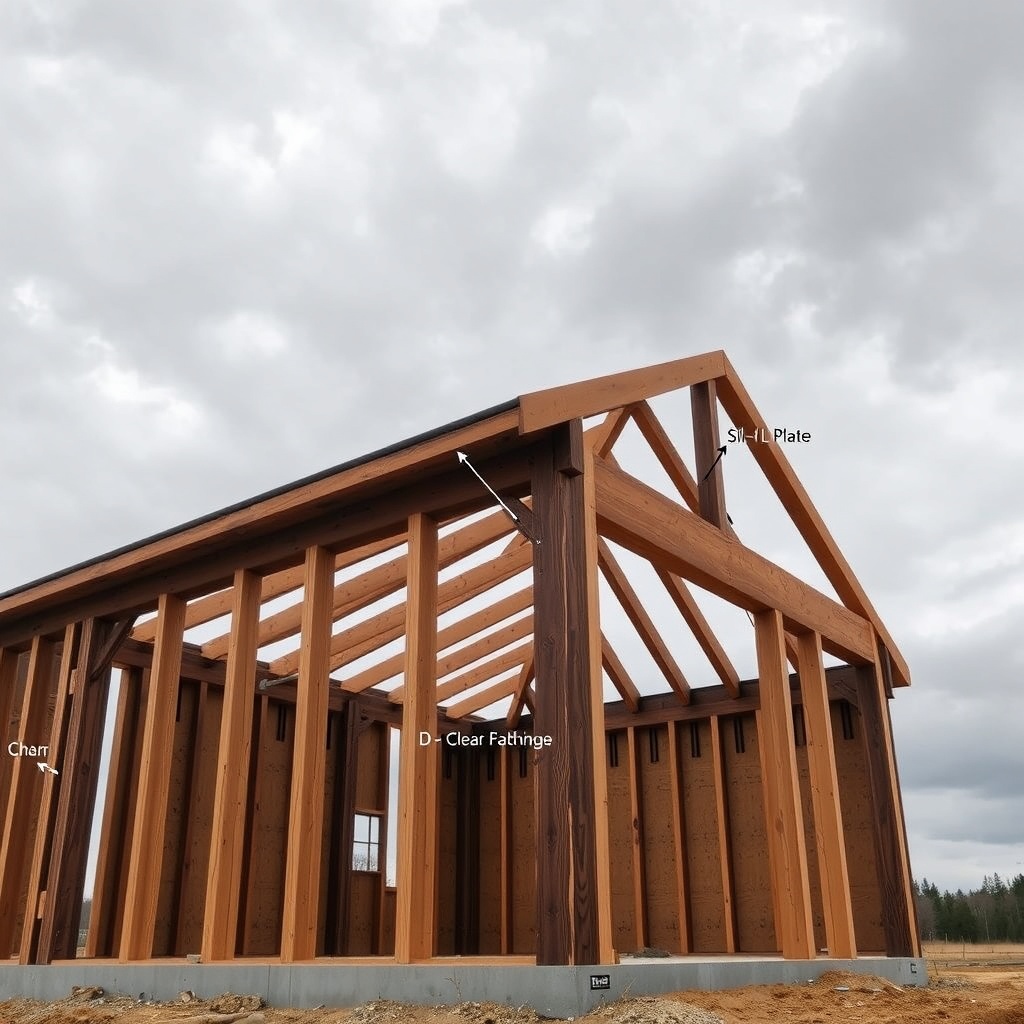
Selecting the correct vapour control layer (VCL) is critical. For TimberHomes barns located in cool, damp climates (e.g., Scotland, northern England, or Ireland), a vapour-permeable membrane on the exterior side with a vapour barrier on the interior is standard. However, many barns suffer from “wrong-side” barriers—where vapour-impermeable materials trap moisture inside the wall. Table 1 outlines recommended materials based on wall location and climate.
| Wall Position | Exterior Vapour Control | Interior Vapour Barrier | Typical Cost (GBP) | Durability Rating |
|---|---|---|---|---|
| Above grade (exposed) | Class III vapour permeable sheet (0.2–0.3 perms) | Polyethylene vapour retarder (0.01–0.05 perms) | £0.80–£1.20/m² | High |
| Below grade (partial basement) | Drainage board with filter fabric | Closed-cell spray foam (2” inch) + polyethylene | £3.50–£5.00/m² | Very high |
| Shear wall corners | Self-adhered flashing tape around windows/doors | Continuous vapour barrier with gasketed seal | £2.00–£4.00/m² | Medium to high |
| Straw bale infill (retrofit) | Lime plaster or wood fibre board | Clay-based vapour barrier | £6.00–£8.00/m² | Low to medium |
Implementing these recommendations requires careful attention to seam sealing. A typical mistake is leaving gaps at electrical junction boxes or plumbing penetrations. For TimberHomes, using a liquid-applied membrane around penetrations adds roughly 10–15% to installation time but reduces moisture failure risk by over 70% according to field studies from Scottish barn retrofits.
How to Diagnose and Repair Condensation Within Shear Walls?
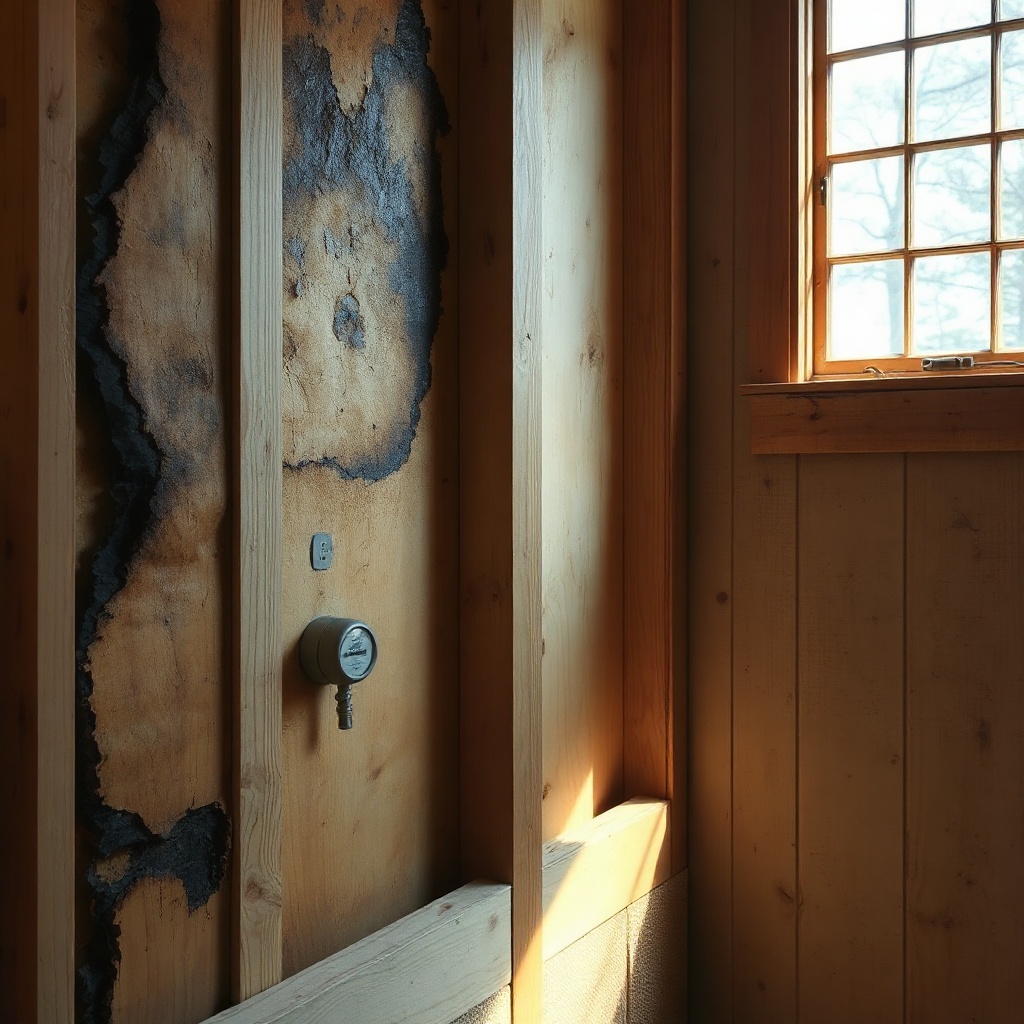
Condensation occurs when warm, moisture-laden indoor air meets cold exterior surfaces inside the shear wall cavity. In TimberHomes barns, this often happens in the upper portion of walls during winter, especially near ridge beams or where insulation is compressed. Symptoms include dark staining on interior timbers, musty odours, and soft spots in the sheathing. To diagnose, use a laser thermometer to find temperature gradients and a hygrometer to measure relative humidity at multiple points.
Repair strategies involve improving interior air tightness and adding a vapour-permeable exterior membrane. A cost-effective approach is to install a smart vapour retarder (e.g., Intello Plus) on the interior side, which changes permeability with humidity. This costs about £2.50/m² but saves on energy bills. For severe cases, remove the interior sheathing, inspect the timber frame for rot, and replace any compromised sections with treated lumber. Ensure flashings at windows and doors integrate with the drainage plane—see TimberHomes Post & Beam: Snow Load Calculations for Roof Design for snow-driven moisture considerations.
Additionally, consider mechanical ventilation—a small heat recovery ventilator (HRV) can be installed for around £800–£1,200 and will balance indoor humidity levels, reducing condensation risk by 50% or more. For barns used as workshops or living spaces, this is a wise investment.
How to Retrofit Existing Shear Walls for Better Drainage?
Retrofitting drainage in existing TimberHomes barns often involves adding a rain screen system or improving capillary breaks at the foundation. Start by removing cladding at the base of the wall—typically up to 300mm above grade. Install a weep screed and a drainage mat (e.g., Delta-MS, costing about £4.50/m²). Then, apply a liquid waterproofing membrane up to 600mm high. This combination redirects water away from the shear wall assembly.
For barns with stone foundations, refer to TimberHomes Post & Beam: Comparing Pier vs. Grade Beam Foundations for Barn Structures for foundation type considerations. If the slab-on-grade gets wet, see TimberHomes Post & Beam: Slab-on-Grade Foundation Cost Analysis for Barn Structures for cost data. A common retrofit scenario involves a pier foundation with a raised timber floor—adding a capillary break between the pier and the sill beam costs around £15–£20 per pier and can prevent moisture migration into the wall cavity.
After drainage improvements, allow the wall assembly to dry for at least six months before reinstalling interior finishes. Monitor with a moisture meter quarterly during the first year to ensure levels stay below 16%.
What Are the Cost Implications of Moisture Control in TimberHomes Shear Walls?
The cost of preventing or repairing moisture issues varies widely based on severity and the chosen solution. A proactive approach during initial construction is far cheaper than reactive repairs. Table 2 below gives typical costs for common moisture control measures, including materials and labour (UK rates, 2024–2025).
| Measure | Cost per Linear Metre (GBP) | Cost per Square Metre (GBP) | Savings Over 10 Years (GBP) |
|---|---|---|---|
| Capillary break at sill | £8–£12 | £10–£15 | £200–£500 (rot repair) |
| Rain screen system retrofit | £15–£25 | £18–£30 | £1,500–£3,000 (recladding) |
| Spray foam insulation (closed cell) | £30–£45 | £35–£50 | £400–£800 (energy savings) |
| Smart vapour retarder installation | £5–£8 | £3–£5 | £100–£250 (mould remediation) |
| Heat recovery ventilator (HRV) unit | £800–£1,200 per unit | N/A | £300–£500 (humidity control) |
These figures assume a typical 50m² barn wall with standard access. For larger structures or complex retrofits, add 20–30% for scaffolding and specialist labour. Importantly, for barns on pier foundations, see TimberHomes Post & Beam: Comparing Pier vs. Crawlspace Foundations for Moisture Control for foundation-specific moisture risks.
What Owners Say About TimberHomes Shear Wall Moisture Management
Feedback from TimberHomes owners in the UK and Ireland highlights both satisfaction and recurring issues. Many appreciate the natural beauty of the timber frames but note that moisture control requires diligence. One owner in North Yorkshire reported: “We had black mould in the shear walls within two winters because the original builder didn’t install a proper capillary break. After retrofitting a rain screen and a smart vapour barrier, the barn has been bone dry for three years.” Another owner in County Cork mentioned that “the HRV system was a game-changer—it stopped the condensation on the windows and saved my antique harness collection.”
Common praise includes the durability of the timber post-and-beam skeleton when protected from moisture, while criticisms often centre on the lack of initial vapour control details in older designs. Builders recommend specifying a fully engineered moisture management plan before ordering a TimberHomes kit. Some owners have found success with salvaged stone foundation retrofits (see TimberHomes Post & Beam: Stone Foundation Repair and Retrofit Techniques) to reduce rising damp. Overall, proactive investment in drainage and barrier systems pays off within three to five years.
Frequently Asked Questions
Q1: How often should I check moisture levels in my TimberHomes shear walls?
A: Inspect every six months—spring and autumn—with a pin-style moisture meter. Aim for readings below 16% moisture content. If above 20% for more than a week, remedial drying is needed.
Q2: Can I use standard polyethylene sheeting as a vapour barrier in a cold climate?
A: Only if installed on the warm side (interior) with strict air sealing. Exterior use can trap moisture. For UK barns, a smart vapour retarder is better.
Q3: Will adding exterior insulation help with moisture?
A: Yes, if it’s vapour-permeable (e.g., wood fibre). This moves the dew point outward and reduces condensation risk inside the shear wall.
Q4: How do I fix a leaking sill plate in an existing barn?
A: Remove the lower cladding, install a metal flashing with an outward slope, and apply a liquid membrane to the sill. Check for rot and replace damaged timber.
Q5: What is the lifespan of a well-maintained TimberHomes shear wall?
A: With proper moisture control—capillary breaks, vapour barriers, and ventilation—the timber frame can last over 100 years. The sheathing may need replacement after 30–50 years.
Q6: Do I need a professional for moisture retrofitting, or can I do it myself?
A: Basic barrier installation is DIY-able, but for complex issues (condensation, foundation connections), hire a building biologist or a certified TimberHomes installer. Mistakes can worsen moisture problems.